Pouring concrete around a toilet flange is an essential job, but it can be tricky. With the right equipment and a little patience, however, you can achieve a durable and secure result.
In this blog post, we’ll look at all the steps involved in pouring concrete around a toilet flange, from preparation to finishing with a smooth surface. We’ll also discuss why it’s so important to get it right and how to avoid common mistakes.
Get ready to pour like a pro.
Contents
- 1 What is a Toilet Flange and Why Do You Need to Pour Concrete Around It?
- 2 Preparing the Area for Pouring Concrete
- 3 The Steps Involved in Pouring Concrete Around Toilet Flange
- 4 Do you Cement Toilet Flange?
- 5 Should the Toilet Flange be Flush with the Concrete Floor?
- 6 How to Attach a Flange to Concrete?
- 7 How Long Does it Take for the Concrete to Set Around the Toilet Flange?
- 8 Tips on How to Ensure Successful Installation of Toilet Flange
- 9 Conclusion
What is a Toilet Flange and Why Do You Need to Pour Concrete Around It?
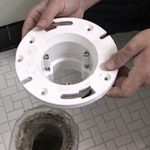
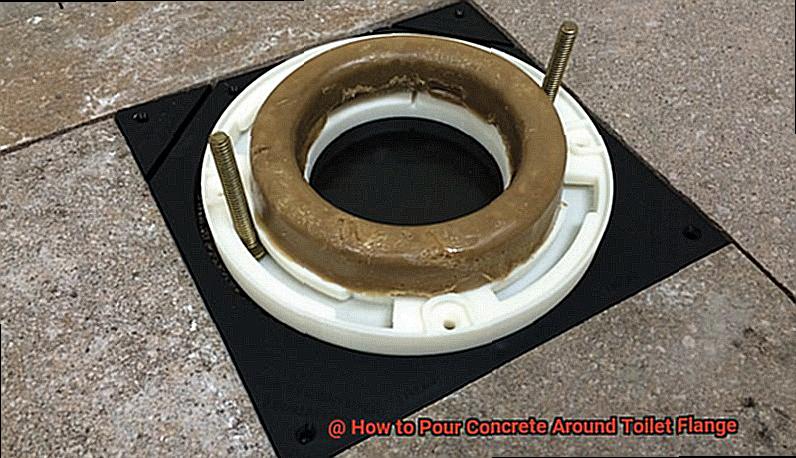
A toilet flange is a circular fitting that connects the toilet to the drainpipe on the floor.
It’s usually made of plastic or metal and has two bolt holes on either side for attaching it to the floor. Securing the flange to the ground before pouring concrete around it is essential for a secure fit.
This helps ensure that the flange is properly sealed, preventing water from leaking out of the drainpipe.
Additionally, pouring concrete around the flange provides extra support for your toilet, which helps prevent shifting or wobbling over time.
So if you’re building a new toilet, make sure you attach the flange securely and pour concrete around it for a secure fit.
Preparing the Area for Pouring Concrete
Before you start, it’s important to take the time to properly prepare the area. This includes removing any old flooring, cleaning and leveling the surface, and ensuring that all plumbing connections are secure.
Begin by removing any existing flooring and clearing the area of debris. Vacuum up any dust or dirt in the space for a clean surface. Use a trowel or leveler to even out bumps or uneven surfaces, and make sure there are no large gaps between the existing subfloor and the new concrete slab.
Before pouring your concrete, check all plumbing connections to make sure they are properly connected and secure. Once everything is ready, you can begin mixing your concrete and pouring it around your toilet flange.
The Steps Involved in Pouring Concrete Around Toilet Flange
Installing a toilet in your home can be a challenging task, but with the right preparations, it can be done quickly and easily. One of the most important steps is to pour concrete around the toilet flange. Here are six simple steps to help you get started:
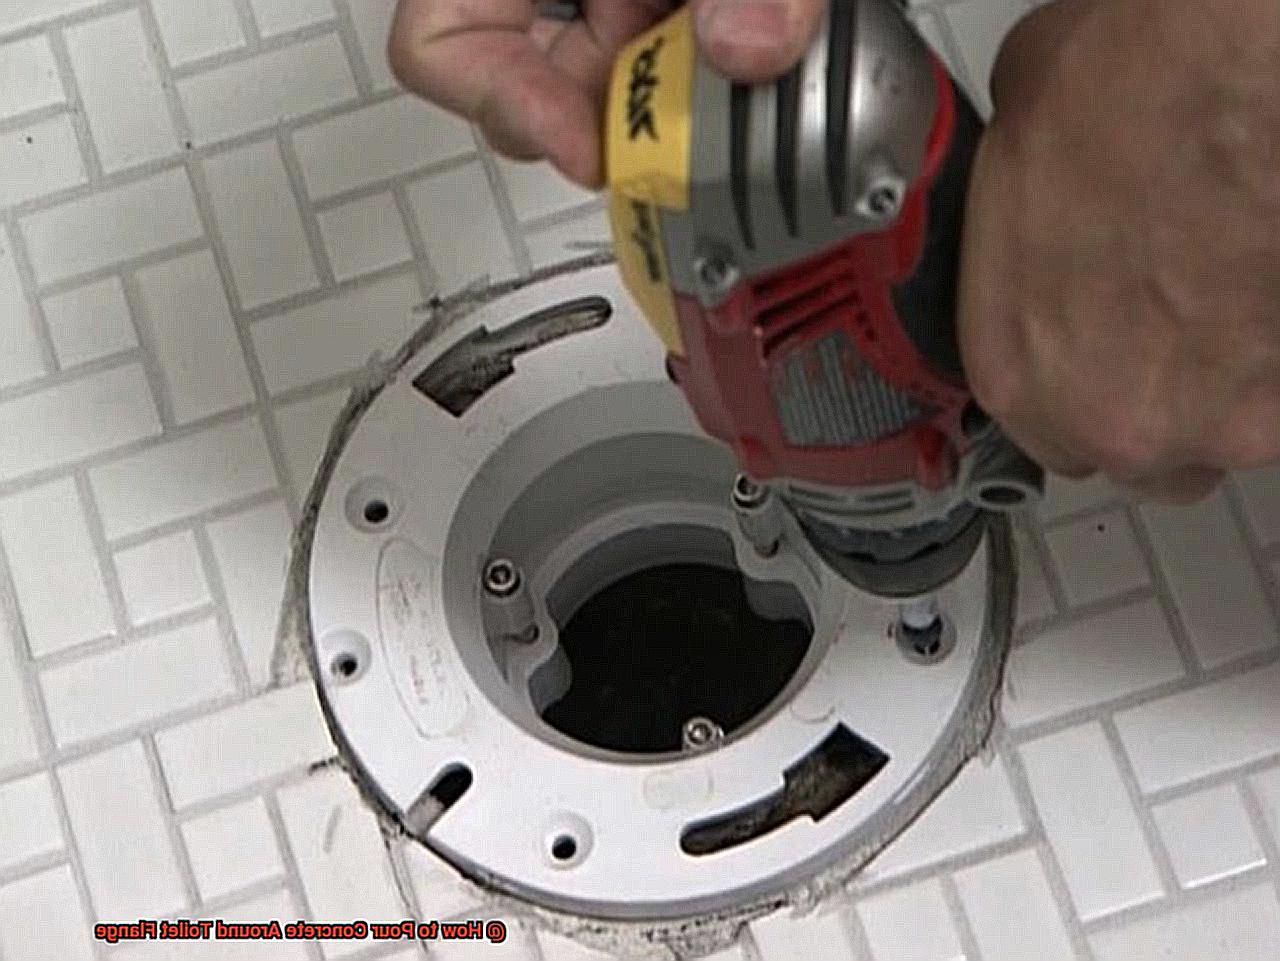
- First, clear any debris from the area and make sure it is level. Then, place the toilet flange in its desired location and ensure it is even with the ground. To attach the flange to the concrete floor, use a hammer drill and concrete screws.
- Next, mix concrete according to package instructions and pour it around the flange, making sure it is flush with the floor. Use a trowel or float to create a smooth surface around the flange’s face.
- Finally, allow 24-48 hours for curing before using or walking on top of your new concrete floor.
Do you Cement Toilet Flange?
If you’re considering cementing your toilet flange, the answer is a resounding yes!
Securing your toilet flange to the concrete with a waterproof cement like polyurethane or epoxy adhesive is essential for ensuring that it stays firmly in place and won’t move over time.
Before applying the mortar, make sure that the surface of the flange and its surrounding area are free of any debris. Then, spread a thin layer of adhesive on both surfaces and press them together firmly.
Let it dry completely before proceeding—this will help ensure your toilet flange stays secure for years to come.
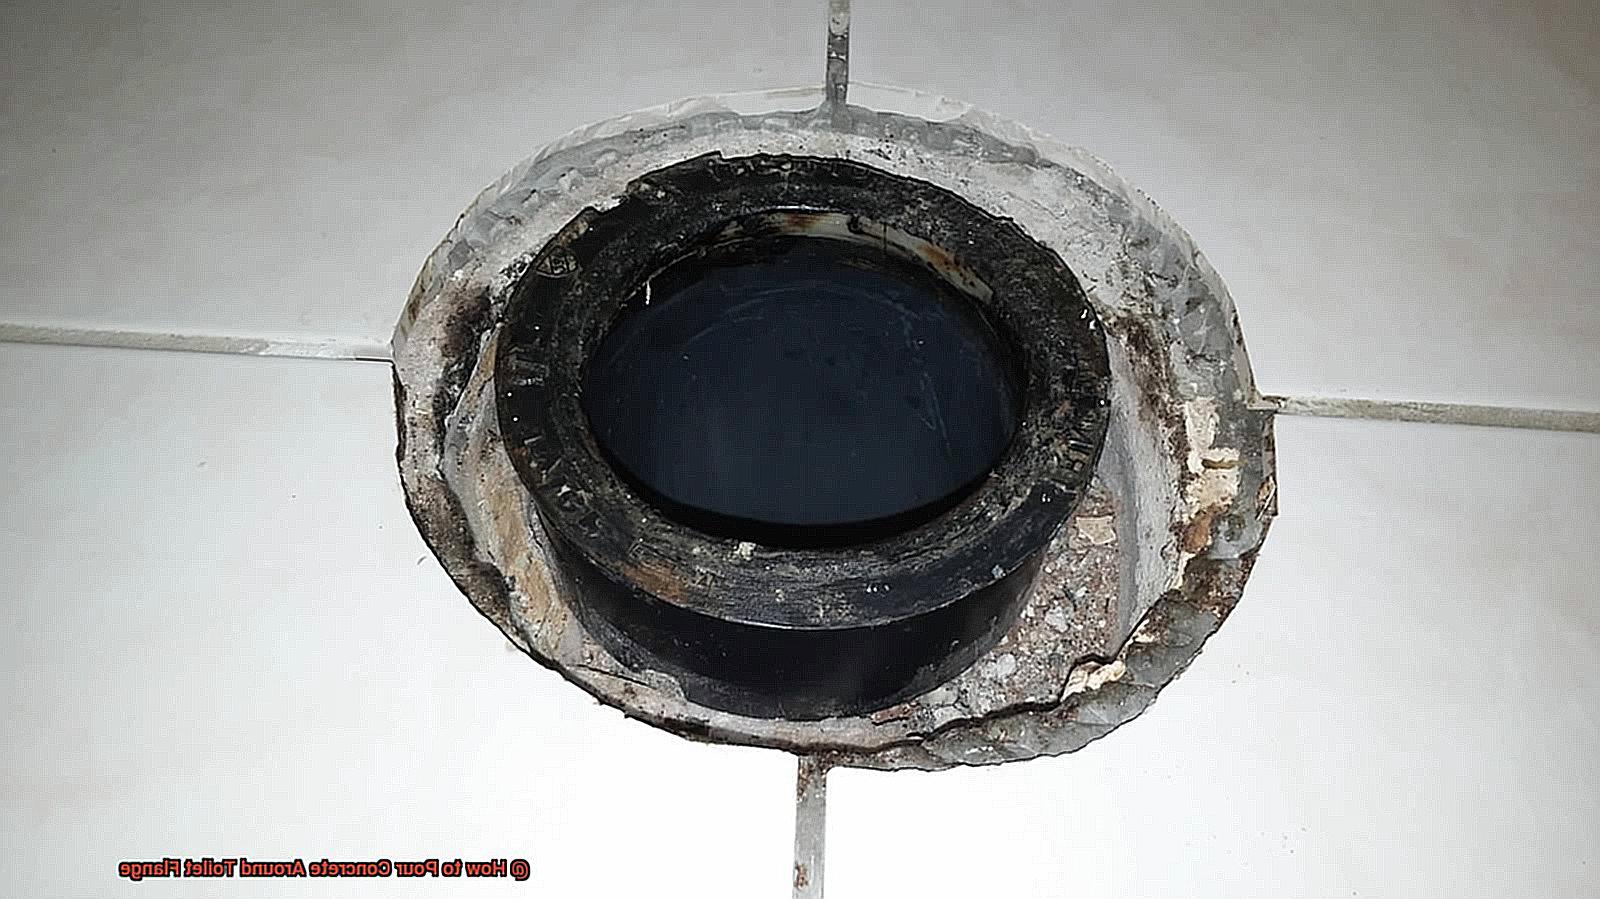
Should the Toilet Flange be Flush with the Concrete Floor?
Installing a toilet properly is essential for ensuring it is level and stable. To achieve this, the toilet flange must be flush with the concrete floor. This prevents any gaps between the flange and the floor, which could lead to leaks.
For this to be accomplished, the flange must be installed correctly before pouring the concrete. After it has been poured, you should use a level to make sure it is even with the floor.
If necessary, you may need to adjust or add more concrete around the flange so that it is flush with the floor.
How to Attach a Flange to Concrete?
Preparing the Toilet Flange
Before pouring concrete around a toilet flange, it is important to make sure the flange is properly prepared.
This includes ensuring that the flange is level and that the bolts are properly secured. If necessary, use a level to make sure the flange is even.
Once the flange is level, secure the bolts with a wrench or screwdriver. Make sure the bolts are tight and secure before pouring concrete.
Pouring the Concrete
When pouring concrete around a toilet flange, it is important to use the right type of concrete. Typically, a mix of one part cement, two parts sand, and four parts gravel is recommended.
Before pouring the concrete, wet the area around the toilet flange to prevent it from drying too quickly.
Once the area is wet, slowly pour the concrete around the flange until it is completely covered.
Finishing Touches
Once the concrete has been poured around the toilet flange, it is important to finish it off properly. Use a trowel to smooth out any rough edges or bumps in the concrete.
If desired, add a sealant to protect the concrete from moisture and other elements. Finally, allow the concrete to dry for at least 24 hours before using it.
How Long Does it Take for the Concrete to Set Around the Toilet Flange?
Have you ever wondered how long it takes for concrete to set around a toilet flange? The answer depends on a few factors.
The type of concrete mix used, the temperature and humidity of the area, and how thickly it is applied will all influence the setting time. Generally speaking, it takes between 24 and 48 hours for the concrete to set around a toilet flange.
For best results, use a fast-setting concrete mix and apply it in thin layers. Keeping the area warm and dry can also help speed up the process.
Once the concrete has been set, leave it undisturbed for at least 24 hours before using any plumbing fixtures or attempting to make repairs. This will ensure that everything is safe before you start using it again.
Tips on How to Ensure Successful Installation of Toilet Flange
Installing a toilet flange correctly is essential for a successful toilet installation. To ensure your installation goes smoothly, here are nine tips on how to ensure a successful installation of your toilet flange.
First, make sure you purchase a quality toilet flange that is compatible with the toilet you are using. Double-check the measurements of the flange to make sure it fits snugly against the floor.
Clean the area around where you will be installing the flange with a brush and cleaner to remove any dirt or debris that could interfere with the installation process.
Next, depending on what type of material you are attaching it to, securely attach the toilet flange to the floor using screws or bolts. Before moving on to the next step, make sure that it is firmly attached and leveled.
Use a trowel to spread concrete around the toilet flange in an even layer, making sure to fill any gaps between the flange and the floor.
When installing, use a level to ensure that it is properly aligned with the concrete floor.
If possible, consider using a plastic sleeve when installing in an area with high humidity or moisture levels, as this will protect against moisture and corrosion.
Use quality screws to secure the flange in place, making sure not to over-tighten them so they don’t strip out of place over time.
Finally, allow time for the concrete to dry completely before using your newly installed toilet flange.
Conclusion
Pouring concrete around a toilet flange is no small feat. But with the right tools, preparation, and attention to detail, you can achieve a safe and durable result.
In this blog post, we’ve covered all the steps involved in pouring concrete around a toilet flange, from preparation to finishing with a smooth surface.
Plus, we’ve highlighted why getting it right is essential and how to avoid common mistakes.