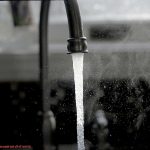
Do you find yourself struggling to remove a Delta faucet handle? You’re not alone. It’s a common issue that many homeowners face when trying to replace or repair their faucet. But before you call in a professional plumber, let’s explore some simple hacks that can help.
First, it’s important to understand why your Delta faucet handle won’t budge. Mineral buildup is a common culprit, causing the handle to stick to the stem of the faucet. Alternatively, the handle may be secured with a set screw that needs loosening before removal.
So, how do you tackle this stubborn Delta faucet handle? Fear not. This blog post will guide you through step-by-step methods, tailored to different causes of resistance. From using vinegar to dissolve mineral buildup, to using a hair dryer to soften the grip of the handle – we’ve got you covered.
By the end of this post, you’ll have all the knowledge and tools needed to fix your Delta faucet handle without breaking a sweat. So let’s dive in and get your faucet back up and running in no time.
Contents
Why Is It Important to Remove a Delta Faucet Handle?
If you’re dealing with a Delta faucet handle that won’t budge, don’t despair. Although it can be a frustrating process, removing the handle is an essential step in fixing any issues with your faucet. But why is it so important to remove a Delta faucet handle? Let’s explore.
First and foremost, removing the handle allows you to access the inner workings of the faucet. This is absolutely essential if you need to repair or replace any components, such as the cartridge or valve. Without removing the handle, you simply won’t be able to get inside the faucet to fix any problems.
Another key benefit of removing the handle is that it can help you diagnose any issues with your faucet. For example, if you’re experiencing low water pressure or a leaky faucet, removing the handle can help you determine the cause of these problems. Once you’ve identified the issue, you’ll be well on your way to taking steps to fix it and get your faucet working properly again.
Last but not least, removing the handle is critical for maintaining your faucet over time. As your faucet ages, it’s normal for mineral buildup or debris from your plumbing system to cause clogs or other problems. By periodically removing the handle and cleaning out these components, however, you’ll be able to keep your faucet working like new for years to come.
So if you’re struggling to remove your Delta faucet handle, what should you do? Start by turning off the water supply and then try prying off the cap on top of the faucet handle. If that doesn’t work, use a Phillips head screwdriver to remove the screw holding the handle in place. If the handle still won’t come off easily, try using pliers or a wrench to gently wiggle it back and forth until it loosens.
If all else fails, a specialized tool called a faucet puller may be necessary to remove the handle. And if there’s mineral buildup around the base of the handle, soak it in a solution of equal parts vinegar and water for several hours before attempting to remove it again.
In conclusion, removing a Delta faucet handle is a small but essential step if you want to keep your faucet in tip-top shape. By taking the time to remove and inspect your faucet handle, you’ll be able to diagnose issues, make necessary repairs, and keep your faucet clean and well-maintained for years to come.
How To Remove Delta Faucet Handle If It Won’t Come Off
Step 1: Turn off the Water Supply
Before you start working on it, the first step is to turn off the water supply. This may seem like a no-brainer, but it is a crucial safety measure that ensures you don’t cause any accidental water damage or leaks while trying to remove the handle.
Turning off the water supply is a simple process. Locate the shut-off valve under your sink or in your basement. It could be a lever or a knob, but it will typically be near the incoming water line. Now turn the valve clockwise to shut off the water flow.
If you can’t locate the shut-off valve or it’s not functioning correctly, you may need to turn off the main water supply to your home. The main water supply is usually located near your water meter or in a utility room. Please note that turning off the main water supply will cut off all water access to your home, so make sure to plan accordingly.
After turning off the water supply, wait for a few minutes before attempting to remove the faucet handle. This will allow any remaining water in the pipes to drain out and prevent any potential splashing or spilling.
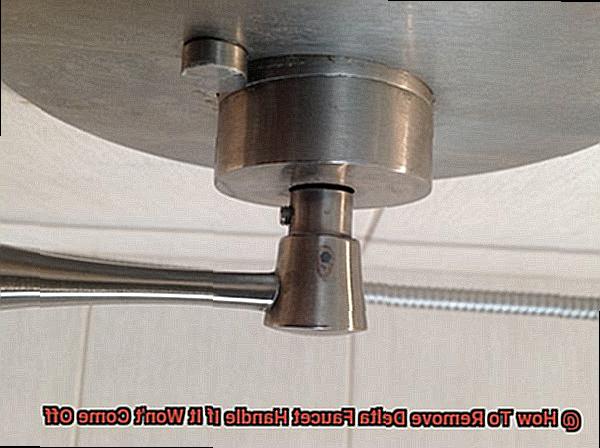
Step 2: Remove the Cap from the Top of the Handle
Now that you’ve created a safe working environment and turned off the water supply, it’s time to tackle the next step in removing your stubborn Delta faucet handle: removing the cap from the top of the handle.
Located at the top of the handle, this cap can be removed using a flathead screwdriver or a knife. However, if it’s putting up a strong fight, you may need to use pliers to get it off. But be careful not to damage it in the process, as this fragile piece is vital for proper faucet function.
Once you’ve successfully removed the cap, you’ll see a screw that must be taken out in order to remove the handle. Keep in mind that not all Delta faucets have the same type of cap, so it’s important to refer to the manufacturer’s instructions before attempting to remove it.
While removing the cap may seem like a small task, it’s crucial to take care during this step as any damage incurred may cause problems with your faucet’s operation. And if you do end up damaging the cap, you may need to replace it before the faucet can be used properly again.
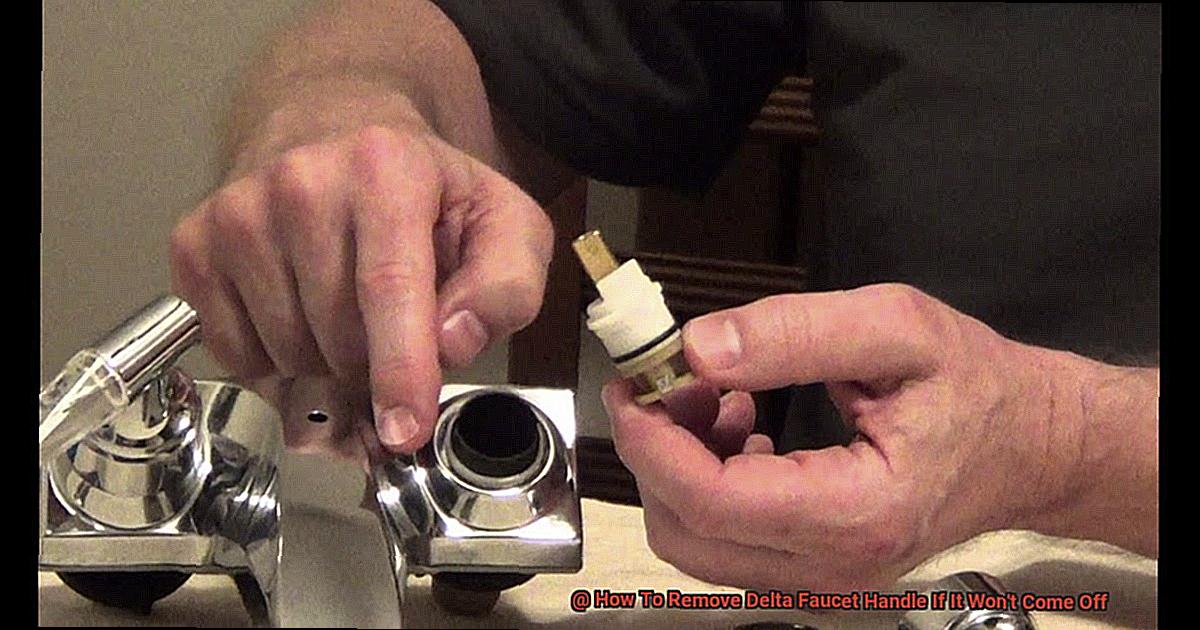
Step 3: Unscrew the Handle
Whether you have a single-handled or double-handled Delta faucet, the steps for unscrewing the handle can vary. Let’s break it down.
For single-handled Delta faucets, removing the handle should be a breeze. Start by removing the plastic cap at the top of the handle using a screwdriver or your fingernails. Once removed, you’ll see a screw that holds the handle in place. Simply use a Phillips head screwdriver to remove it and gently pull off the handle.
On the other hand, removing handles from double-handled Delta faucets can be a little more complex. You’ll need to remove the decorative cap or cover plate that sits on top of the faucet handles. This cover plate is typically held in place with screws that are hidden under small plastic caps. Use a flat-head screwdriver or your fingernails to pry off these caps and then use a Phillips head screwdriver to remove the screws.
Once the cover plate is removed, you’ll find yourself looking at the stem of each handle. Each stem will have a nut or ring that holds it in place, which can be loosened with an adjustable wrench or pliers. Gently pull off each handle after loosening its corresponding nut or ring.
If you’re still having trouble removing the handle, don’t panic. Try spraying some penetrating oil onto it and letting it sit for a few minutes before attempting to remove it again. And if all else fails, you can always use a handle puller tool to get the job done without damaging your faucet.
Step 4: Pull Off the Handle
Now that you have successfully removed the set screw, it’s time for step four: pulling off the handle. However, this step can be a bit tricky, especially if the handle has been in place for an extended period. But don’t fret, we have several techniques that will help loosen it up.
First, try gently wiggling the handle from side to side while pulling up at the same time. This motion can slowly loosen the handle from its position. But remember, if you feel any resistance, do not force it as it may damage the faucet or cause injury.
Another helpful technique is using a handle puller tool. This tool applies upward pressure on the handle, gradually loosening it for easy removal. You can purchase a handle puller tool from your local hardware store or online for added convenience.
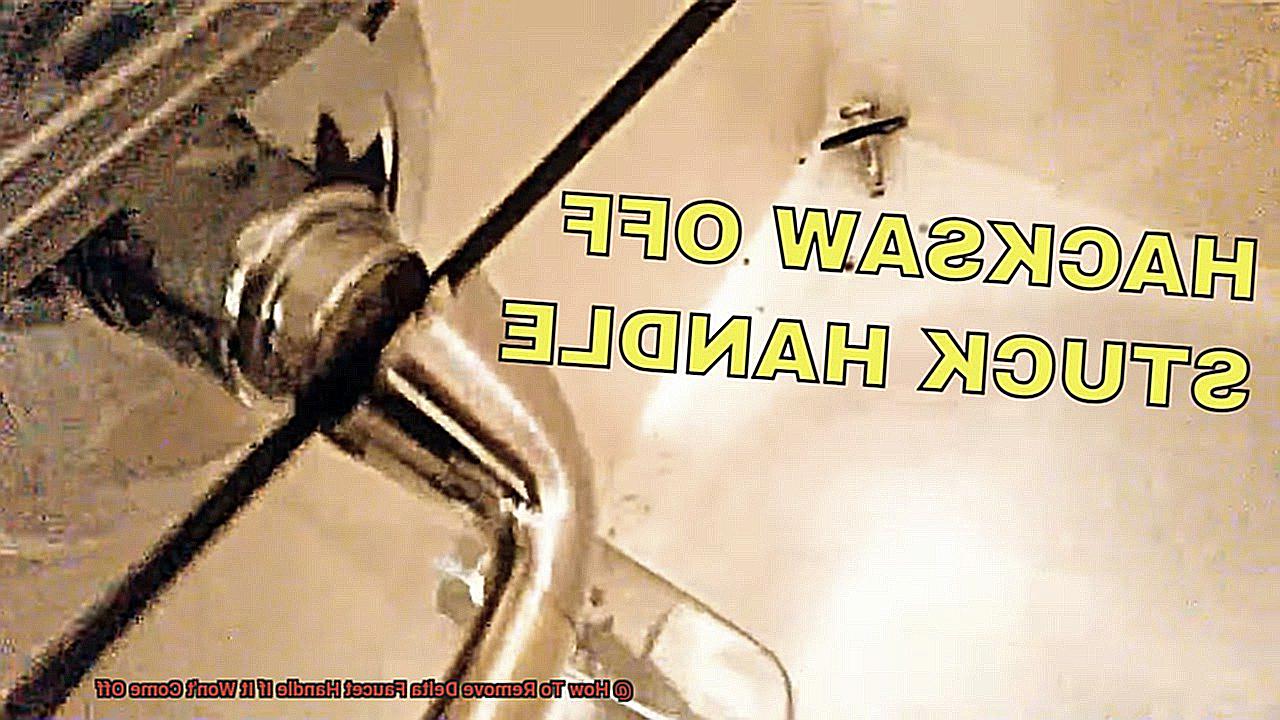
If neither of these methods works, you may need to use a penetrating oil such as WD-40. Apply the oil around the base of the handle and let it sit for a few minutes before attempting to remove it again. Just be careful not to get any oil on surrounding surfaces as it may cause damage.
Remember, patience and proper technique are crucial when removing a Delta faucet handle. Don’t rush the process and use these expert tips to avoid causing any damage.
Step 5: Use a Solution to Remove Mineral Buildup
For this step, you’ll need some white vinegar, a plastic bag, and a rubber band. Simply fill the plastic bag with enough white vinegar to fully submerge the faucet handle. Then, wrap the bag around the handle and secure it with a rubber band so that the vinegar can work its magic.
Let the bag sit in place for at least an hour so that the vinegar can break down any mineral buildup that may be causing the handle to stick. After an hour, remove the bag and use a soft-bristled brush to gently scrub away any remaining buildup. Voila. Your faucet handle should now be free and easy to turn.
If this process doesn’t work on the first go, don’t panic. You may need to repeat it a few times or try using a more powerful cleaning solution. There are many commercial cleaning products available that are specifically designed to remove mineral buildup from plumbing fixtures, but be sure to follow the manufacturer’s instructions carefully.
However, if your Delta faucet handle still won’t budge after attempting all of these steps, it may be time to call in a professional plumber. They will have the expertise and tools necessary to safely remove the handle without causing any damage to your plumbing system.
Removing mineral buildup from your Delta faucet handle is crucial for maintaining your plumbing fixtures.
unqc06D5Q6Q” >
Conclusion
In conclusion, removing a Delta faucet handle may seem like a daunting task, but it’s not impossible. With the right tools and techniques, you can easily remove that stubborn handle and get your faucet back in working order.
Before you start, make sure to turn off the water supply and understand why your faucet handle won’t budge. Mineral buildup is a common culprit that causes the handle to stick to the stem of the faucet or may be secured with a set screw that needs loosening before removal.
To tackle this issue head-on, there are several methods tailored to different causes of resistance. From using vinegar to dissolve mineral buildup to using a hairdryer to soften the grip of the handle – we’ve got you covered. Once you remove the handle, you’ll have access to the inner workings of the faucet for repair or replacement of any components such as cartridges or valves.
Maintaining your faucet over time is critical, so periodically removing and cleaning out components will keep your faucet working like new for years to come. By following these expert tips and techniques, you’re one step closer to successfully taking off that stubborn Delta faucet handle without causing any damage.
However, if all else fails, it’s best to call in a professional plumber who has expertise and tools necessary for safely removing the handle without damaging your plumbing system.