Do you dread the thought of ripping out tiles and walls just to replace an outdated or leaking shower valve?
Well, fear not. There’s a way to upgrade your shower valve without causing any major disruption to your bathroom.
We’re here to guide you through the simple steps on how to remove your shower valve from the front, making it possible to upgrade or repair your shower in no time. So, how can you remove a shower valve from the front?
It’s all about finding the right kit that allows you to do so. With the correct tools and materials, you can quickly access your shower valve from the front and replace it without having to remove tiles or walls.
Not only will this save you money on repairs, but it’ll also save you time and resources. In this blog post, we’ll cover everything from turning off the water supply, removing the trim and valve, installing the new valve, and then reconnecting the water supply.
Any DIY enthusiast can do it with ease. We’ll provide step-by-step instructions along with a list of supplies and equipment needed for this project.
Let’s get started on upgrading your bathroom.
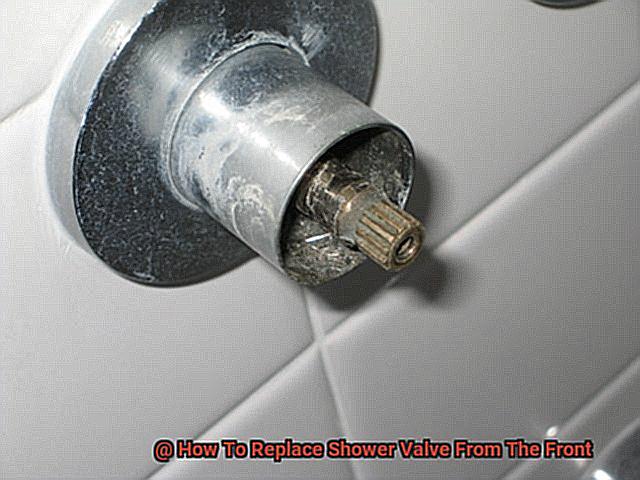
How to Replace Shower Valve From The Front
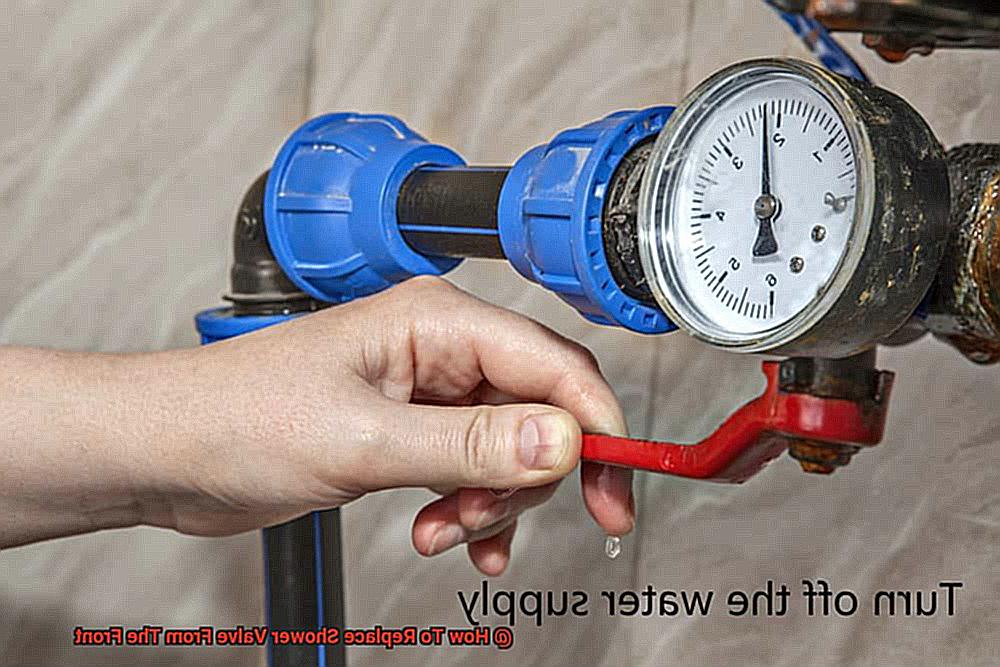
Step 1: Shutting Off the Water Supply
With the right tools and basic plumbing knowledge, you can tackle this project with ease. However, before you begin, it’s essential to take the first and most significant step – shutting off the water supply to your shower.
Think of shutting off the water supply as closing floodgates before a storm hits. It’s like putting up a fence between your house and potential water damage.
Not turning off the water supply can result in costly repairs and extensive damage to your home due to flooding. So, to avoid any water damage or flooding during the valve replacement process, it’s crucial to shut off the water supply.
To do this, locate the primary water valve that controls the flow of water to your home. This valve is typically located near the water meter or where the main water line enters your home.
Once you find it, turn off the valve by turning the handle or lever clockwise until it stops. Make sure that the valve is entirely turned off and no water is flowing through the pipes before proceeding with the valve replacement.
To ensure that no residual water remains in the pipes, turn on all faucets and showers in your home to drain any remaining water from the system. This will also release any pressure that may be present in the pipes, making it easier to remove the old shower valve and install the new one.
Remember that shutting off the main water valve will cut off water supply not only to your shower but also to your entire home. Therefore, make sure to inform everyone in your household about the temporary water shut-off and make necessary arrangements accordingly.
By cutting off the water supply, you’re also protecting your home from potential water damage caused by leaks or flooding during the valve replacement process.
Step 2: Removing the Handle and Trim Plate
This step is crucial because it gives you access to the valve body, allowing you to replace the old valve with a new one. To begin, use a screwdriver to remove the screw that holds the handle in place.
Once the screw is out, gently pull the handle away from the wall. It’s that simple.
Next up is the trim plate, which covers the valve body. This is typically held in place by screws, so use your trusty screwdriver once again to remove them.
Once they’re out, gently pull the trim plate away from the wall. If you encounter any difficulty removing the handle or trim plate, don’t worry.
You can use a flathead screwdriver to gently pry them away from the wall, being careful not to damage any surrounding tiles or walls. With the handle and trim plate removed, you’re now ready to move on to step three: replacing the old valve cartridge with a new one.
We’ll cover this in detail in our next section, so stay tuned. In summary, removing the handle and trim plate may seem daunting at first, but it’s actually a straightforward process if you follow these steps closely.
Just remember to turn off the water supply before starting and use caution when removing these parts.
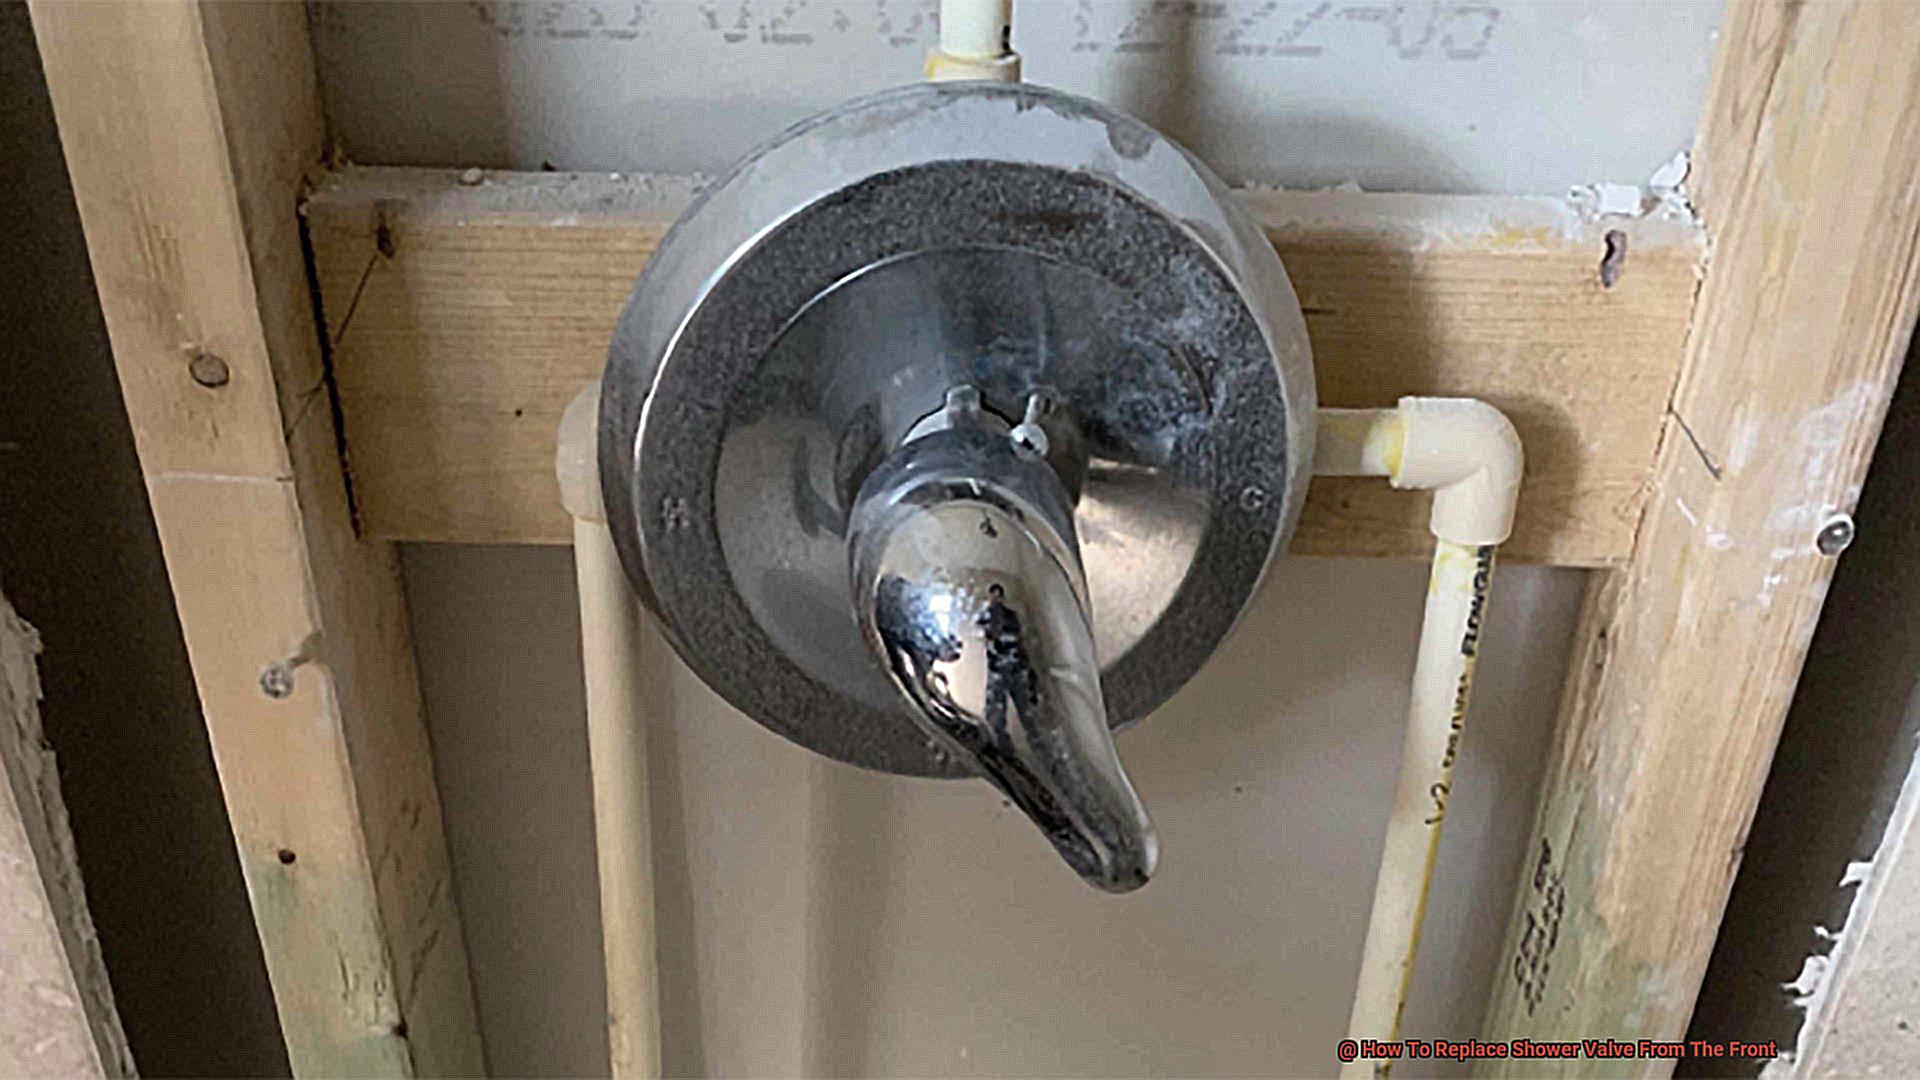
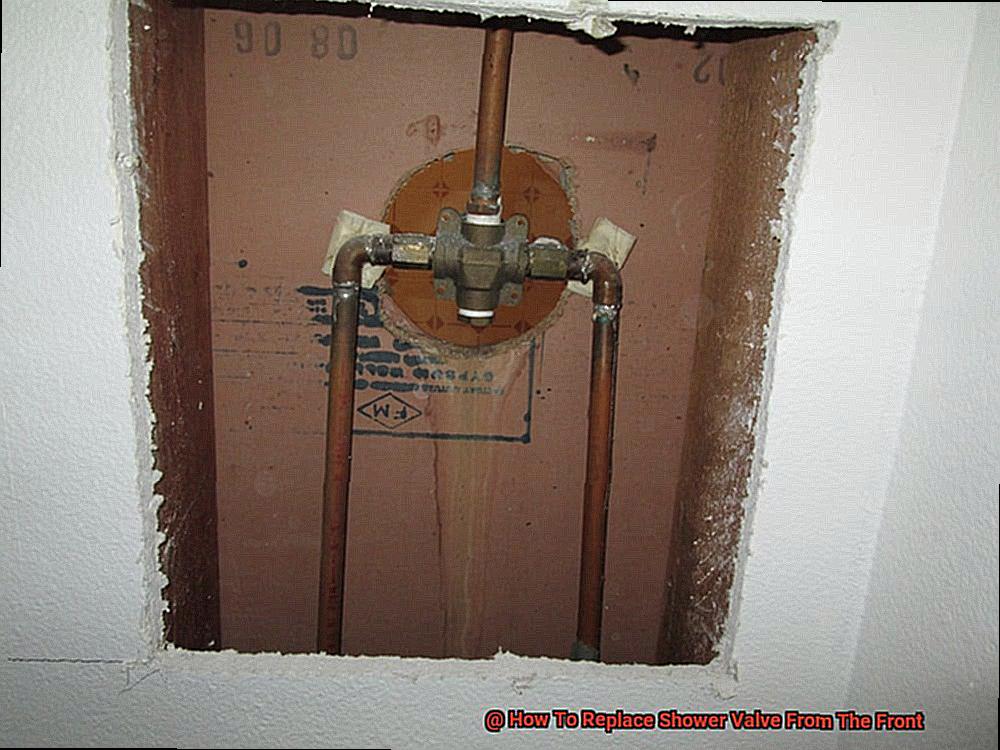
Step 3: Removing the Old Valve Body
This is a crucial step as it paves the way for a fresh and revitalized shower experience.
To get started, let’s turn off the water supply to the shower.
Just like putting on a seatbelt before driving, it’s an essential safety measure. You can do this by turning off the main water supply to the house or using a local shut-off valve.
Next up, let’s remove the old valve body’s handle and trim plate. It’s like unwrapping a present; with each layer removed, we get closer to the exciting reveal.
Removing a set screw located on the underside of the handle or trim plate usually does this. Now that we’ve uncovered the locking screws that secure the valve body in place, it’s time to remove them.
These screws are often hidden behind decorative caps at the top and bottom of the valve body. Once they’re out of the way, we can finally pull out the old valve body from the wall.
But hold on. Before you get too excited, some older homes may have soldered connections between the old valve body and water supply lines.
If you find yourself in this situation, it may be best to call in a professional plumber to handle this tricky task. Now that we’ve successfully removed the old valve body, it’s time for a thorough inspection.
Think of it as checking for any bumps or bruises before heading out on an adventure. We want to make sure there are no leaks or corrosion in the water supply lines and that there is no damage to surrounding tiles or walls.
Step 4: Choosing the Right New Valve for Your System
When it comes to replacing a shower valve, choosing the perfect new valve for your system is crucial.
It’s like finding the perfect accessory to complete an outfit – it needs to match and fit perfectly. So, what factors should you consider when selecting a new valve for your shower system?
The first thing to keep in mind is compatibility. You need to ensure that the new valve is compatible with your existing plumbing system.
Checking the size and type of connections on both the old and new valves is critical to ensure that they match up. It’s like trying on shoes – you want them to fit just right, not too big or too small.
The type of valve you install is also important. There are different types of shower valves available, including single-handle, dual-handle, thermostatic, and pressure-balancing valves.
Each has its advantages and disadvantages, so it’s essential to research and choose the one that best meets your needs. It’s like choosing an outfit for a special occasion – you want something that fits your style and makes you feel comfortable.
Don’t forget about quality when selecting a new valve. Investing in a high-quality valve from a reputable brand ensures that it lasts for many years without any issues.
It’s like investing in a designer handbag – it may be more expensive upfront, but it’s worth it in the long run. Lastly, don’t forget to check the flow rate of the new valve to ensure that it’s appropriate for your water pressure.
A low-pressure shower can be frustrating and disappointing. In conclusion, choosing the right new valve for your shower system is similar to completing an outfit with the perfect accessory.
Step 5: Installing the New Valve
Installing a new shower valve is the final piece of the puzzle in replacing a shower valve from the front.
It’s like putting the cherry on top of a sundae – it’s the finishing touch that brings everything together. But before you can enjoy your perfectly functioning shower, there are a few important things to keep in mind.
First, make sure the area is clean and dry.
Think of it like getting ready for a special occasion – you want to look your best, and you don’t want to ruin your outfit with dirt or moisture. Thoroughly cleaning the area will ensure that there are no leftover debris or moisture that could cause issues down the line.
Next, take a close look at the new valve and compare it to the old one. Check for any differences in size or shape, and ensure that all of the connections are in the right place.
It’s like trying on shoes – you want to make sure they fit before buying them. If there are any discrepancies, it’s better to catch them now before attempting to install the valve.
Once you’ve confirmed that everything lines up correctly, apply plumber’s tape to the threads of all of the connections on the new valve. This extra step will help prevent leaks once everything is installed.
Think of it like wearing an umbrella on a rainy day – an extra layer of security never hurts. Now it’s time to connect the new valve.
Carefully thread each connection onto its corresponding pipe, being careful not to cross-thread anything. Hand-tighten each connection as much as possible, then use pliers or a wrench to give them a final turn.
But be gentle – you don’t want to damage anything, just like you wouldn’t want to break your favorite piece. Once everything is connected, turn on the water supply and check for leaks.
If everything looks good, turn off the water again and finish up by securing the valve in place. This may involve tightening screws or using brackets, depending on the specific valve you’re working with.
Step 6: Attaching the Handle and Trim Plate
In this step, we will cover how to attach the handle and trim plate to the valve for a polished look and proper operation.
Before proceeding, ensure that your valve is correctly mounted and securely in place. Once you have done so, let’s get started.
First, locate the screw holes on the trim plate and align them with the matching holes on the valve body. Insert screws into the holes, and use a screwdriver to tighten them securely.
Remember not to overtighten as this could damage the plate or valve. Next, attach the handle to the valve stem.
Depending on your handle’s style, you may need to slide it onto the stem or screw it onto a threaded end. Like finding the perfect pair of shoes, make sure that the handle fits snugly in place and can turn the valve without slipping.
For a polished finish, attach any decorative cover plates or caps that came with your trim kit. These are typically designed to snap or screw onto the trim plate.
lee0B29mpx8″ >
Conclusion
In summary, replacing a shower valve from the front may seem like a daunting task, but fear not.
With the right tools and experience, it’s actually quite simple. By following the steps outlined in this article, you can upgrade or repair your shower valve without having to rip out tiles or walls.
To begin, start by shutting down the water supply to your shower to minimize any potential harm or flooding during the restoration process. Next, open the handle and trim plate to access the valve body and remove it.
It’s important to select a new valve that is compatible with your existing plumbing system and meets your specific needs in terms of size, quality, and flow rate. Before installing the new valve, make sure to clean and dry the area thoroughly.
Then connect everything using plumber’s tape for added security. Finally, attach the handle and trim plate for a shiny finish.
Don’t wait any longer – update your bathroom today with these easy-to-follow instructions for restoring your shower valve from the front.