Are you tired of struggling with a stubborn soap dispenser pump? Fear not, because we’ve got you covered. In this blog post, we’ll guide you through the process of taking apart a soap dispenser pump like a pro.
Whether you’re a neat freak who wants to deep clean your soap dispenser, or you need to fix a faulty pump, knowing how to disassemble it is an essential skill.
Firstly, we’ll explain the different types of soap dispenser pumps that exist, from traditional ones to foaming pumps. Then, we’ll dive into the nitty-gritty of disassembling the pump – from removing it from the container to dismantling its components.
But don’t worry – we won’t leave you hanging. We’ll provide useful tips and tricks along the way to make everything as smooth as possible. We’ll also address common issues that may arise and teach you how to troubleshoot them effectively. By the end of this post, you’ll be an expert at taking apart any soap dispenser pump that comes your way. So let’s get started on this exciting journey together.
Contents
What is a Soap Dispenser Pump?
Then consider getting yourself a soap dispenser pump – a simple yet effective device that dispenses liquid soap or lotion with ease.
A soap dispenser pump is designed to be easy to use and refill. It typically consists of a plastic or metal container with a pump mechanism that includes a piston, a spring, and a nozzle. The pump can be refilled with any kind of liquid soap or lotion, making it a versatile tool for maintaining cleanliness and hygiene.
One of the primary benefits of using a soap dispenser pump is that it reduces waste and minimizes the spread of germs. Unlike traditional bar soaps, multiple people can use it without touching the same bar of soap, making it a more hygienic option. Plus, it comes in various sizes and designs, ranging from small countertop models to large wall-mounted units.
And when it comes to cleaning or maintenance, taking apart a soap dispenser pump is a breeze. All you need are a few basic tools such as a flathead screwdriver and a cloth. Simply unscrew the top or gently pull up on the pump to remove it from the container. Then, remove the plastic cap on top of the pump with the screwdriver and clean any remaining soap or debris from inside the pump using a cloth or paper towel.
If there are any visible clogs or blockages, use a toothpick or small brush to remove them. In case the pump is damaged or not functioning properly, replacement pumps can usually be purchased online or at local hardware stores. Installing a new pump is as easy as following these steps in reverse order.
In summary, using a soap dispenser pump is an essential way to promote cleanliness and hygiene in any setting. It’s not only easy to use and refill but also environmentally friendly and more hygienic than traditional bar soaps. And if you ever need to clean or replace the pump, it’s a quick and simple process that anyone can do.
Why Take it Apart?
First, a clogged or blocked pump can be a frustrating experience. When your pump stops dispensing soap, it can throw off your entire routine. However, fear not. Taking apart the pump and giving it a good cleaning can restore its functionality. Just like unclogging a drain, once the blockage is removed, everything flows smoothly again.
Secondly, a leaky or drippy pump is not only messy but also wasteful. If your soap dispenser is leaving puddles on your countertop or wasting precious soap, it’s time to take action. By taking apart the pump, you can identify the source of the problem and make any necessary repairs or replacements.
Lastly, taking apart the pump is also helpful if you need to refill or replace the soap inside. Some pumps require specific types of soap or are only compatible with certain refill bottles. By taking apart the pump, you can ensure that you’re using the correct type of soap and avoid any issues with compatibility.
Overall, knowing how to disassemble your soap dispenser pump can save you both time and money in the long run. So don’t hesitate. Unscrew that top or gently pull up on the pump to remove it from the container. With a screwdriver and cloth or paper towel, clean out any remaining soap or debris from inside.
Gather Necessary Tools and Materials
Imagine starting your day with a refreshing shower, only to find out that your soap dispenser pump is not working. Before you decide to give up and throw it away, why not try fixing it yourself? Taking apart a soap dispenser pump may seem like a daunting task, but with the right tools and materials, you can easily do it yourself. So, let’s gather everything you need before starting this process.
Firstly, a pair of slip-joint pliers is essential. These pliers will help you grip and twist the pump to separate it from the bottle. Make sure to choose pliers that provide a good grip to avoid any slipping or mishaps.
Next up is the flathead screwdriver, which will come in handy for prying open the pump mechanism. Be sure to select a screwdriver that is small enough to fit into tight spaces.
You may also need a sharp knife or scissors to cut through any adhesive or sealant that is holding the pump in place. This can usually be found around the base of the pump and is easy to cut through with a sharp object.
Additionally, keep your work surface clean and have a towel or rag nearby to wipe away any spills or excess soap.
When it comes to materials, having a replacement pump on hand is always a good idea in case the current one cannot be fixed. If you encounter any stuck parts, some lubricant like petroleum jelly or silicone spray can help loosen them up.
By gathering these tools and materials beforehand, you’ll be ready to tackle any soap dispenser pump issue with ease and confidence.
Removing the Pump from the Soap Dispenser
With a few simple tools and some careful maneuvering, you can remove the pump from your soap dispenser like a pro.
First, proceed with caution when removing the pump from a soap dispenser. This step is necessary to replace a faulty or worn out pump, or to clean the dispenser thoroughly. Removing the top of the dispenser is the first step, which may involve unscrewing or gently pulling off a cap – depending on the design of your dispenser. Once the top is removed, you should be able to see the pump mechanism.
Now comes the tricky part. Depending on your dispenser’s design, you may need to use pliers or another tool to grip the pump mechanism and twist it counterclockwise to loosen it from the tube. It’s important not to rush this process and handle all parts with care as they are often made of delicate materials that can be easily damaged if mishandled.
Once the pump has been loosened, you should be able to pull it straight up and out of the dispenser. If you’re replacing the pump entirely, take note of how it was oriented in the dispenser so that you can install the new pump correctly. And if you’re simply cleaning the pump, warm water and mild soap will do the trick.
After cleaning or replacing the pump, reinsert it into the dispenser and twist it clockwise until it’s snugly in place. And voila – your soap dispenser is back in business.
With these simple steps, you’ll have that pesky pump removed in no time. Just remember to handle all parts with care and proceed slowly to avoid damaging any delicate materials.
Removing the Top of the Pump
You may be wondering how to remove the top of the pump. Well, we are here to guide you through that process with ease and confidence.
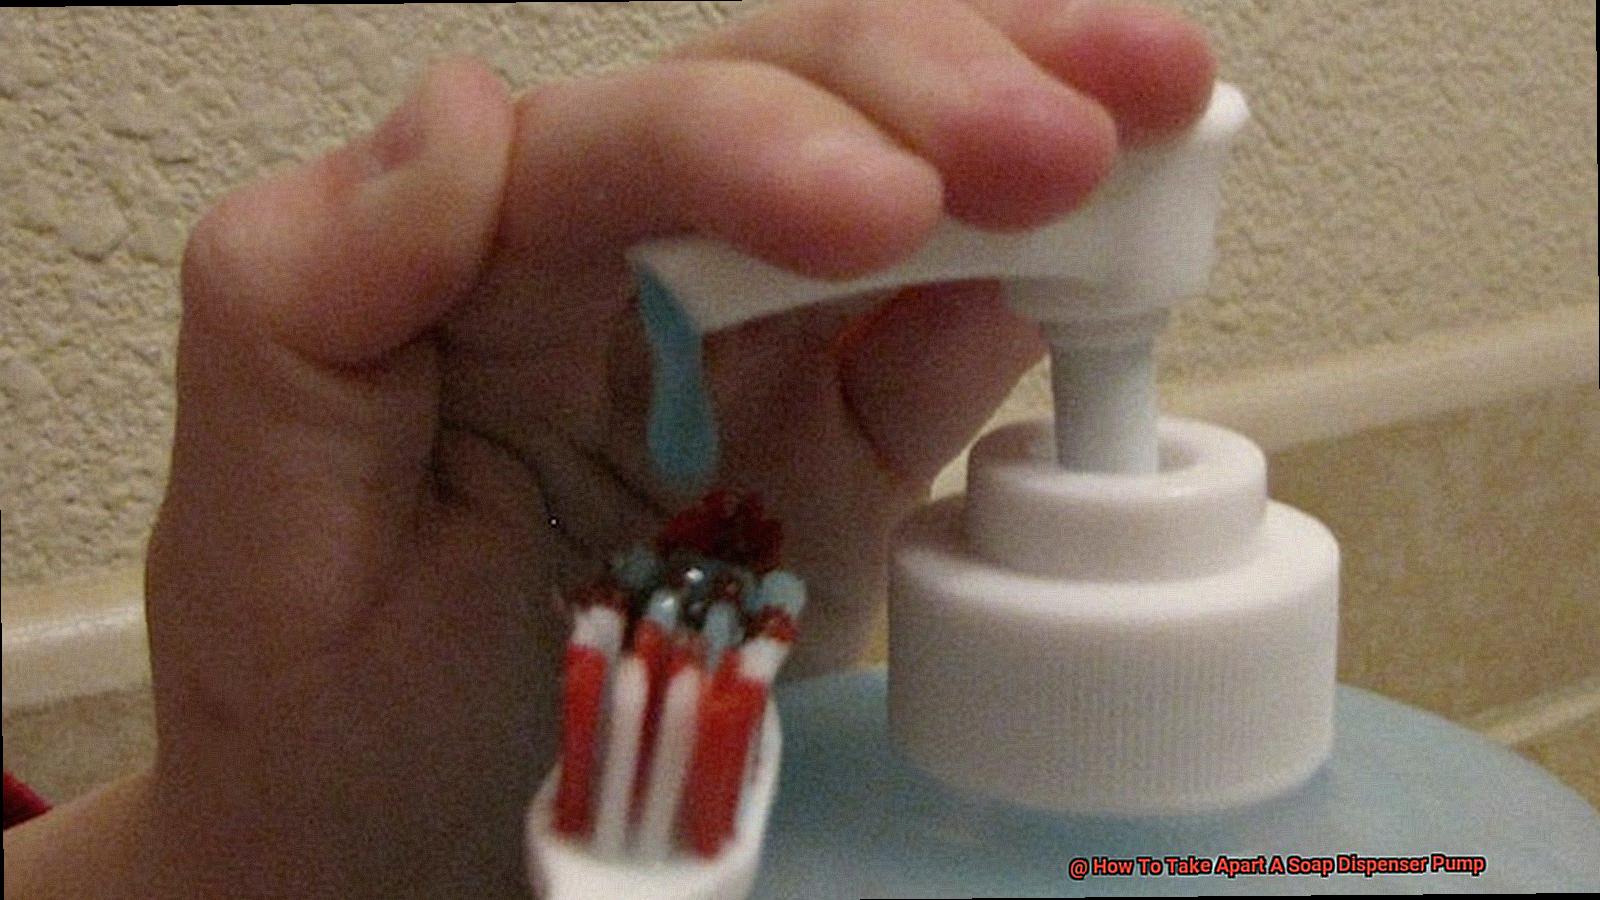
First, take a good look at the pump and locate the top. This is where the soap usually comes out of the dispenser. Look for any visible seams or lines that may indicate where the top and bottom of the pump meet.
Once you have found the top, grip it firmly with one hand while using your other hand to twist the base counterclockwise. At first, it may seem like it won’t budge, but don’t give up. A bit of persistence and elbow grease will do the trick.
If twisting doesn’t work, try using a screwdriver or another tool to gently pry the top loose. But remember to be careful not to damage the pump or injure yourself in the process.
You have successfully removed the top of the pump. Now you can access the inner workings and clean or repair them as needed. Just remember to take note of how everything is assembled so that you can put it back together correctly when you’re done.
Cleaning Out the Pump Mechanism
If you’re here, you’re probably on a mission to clean out the pump mechanism of your soap dispenser. Fear not, my friends. As an expert in this field, I am here to guide you through the process with ease.
To start, we need to get down to business and disassemble the pump to access the inner workings. Think of it like opening a treasure chest, except instead of gems and gold coins, you’ll find soap residue and grime. Are you ready? Let’s dive in.
Firstly, remove the top of the pump by pulling it straight up. Then, gently wiggle the pump stem until it comes loose from the dispenser body. Next, use a small flathead screwdriver to remove the retaining ring that holds the pump mechanism in place. Don’t worry; with some patience and caution, you’ll have it off in no time.
Now that you have access to the pump mechanism, it’s time to give it a thorough cleaning. Start by rinsing it under warm water to remove any soap residue or debris that may have accumulated inside. Think of it like giving your pump mechanism a spa day – it deserves some pampering every once in a while.
For any stubborn grime that won’t budge with just water, grab a small brush or toothbrush to scrub it away gently. And for those pesky hard-to-reach areas inside the mechanism, use a cotton swab dipped in rubbing alcohol to clean them out.
Once you’ve given your pump mechanism a good scrubbing, make sure it’s completely dry before reassembling everything. We don’t want any moisture lingering around and causing issues down the line.
To put everything back together, insert the pump mechanism back into the dispenser body and ensure that it’s securely in place. Replace the retaining ring, push the pump stem back into position, and snap the top of the pump back on. Voila. Your soap dispenser is now sparkling clean and ready to dispense soap like a pro.
It’s important to note that cleaning out the pump mechanism isn’t just about maintaining a clean appearance – it also ensures optimal functionality and longevity of your soap dispenser.
Replacing the Pump if Necessary
We hope you’ve been enjoying our soap dispenser maintenance series so far. In this section, we’ll be discussing what to do when your pump is damaged beyond repair and needs to be replaced.
Before we dive into the replacement process, it’s crucial to ensure that the pump is really the problem. Sometimes, issues with the container or soap can cause problems that seem like a faulty pump. If you’re certain that the pump needs replacing, let’s get started.
First things first, you’ll need to purchase a replacement pump that fits your soap dispenser. Make sure to read the specifications carefully to ensure that you’re getting the right pump. Once you have the replacement pump, it’s time to follow these easy steps:
Step 1: Remove the old pump
Gently twist and pull up on the old pump to remove it from the soap dispenser. Be careful not to damage any other parts of the dispenser.
Step 2: Insert the new pump
Push the new pump into place in the hole where the old pump was removed. Ensure that it fits snugly and securely.
Step 3: Test the new pump
Press down on the new pump to test it and make sure that soap is dispensing correctly. Congratulations, you’ve successfully replaced your soap dispenser pump.
If you’re having trouble finding a replacement pump that fits your soap dispenser or don’t feel comfortable replacing it yourself, don’t hesitate to contact the manufacturer for assistance. They may be able to provide you with a replacement part or recommend a professional who can help.
Remember, taking care of your soap dispenser will ensure its longevity. So, whether you need to clean or replace your soap dispenser pump, always take necessary precautions to protect your investment.
In conclusion, replacing a soap dispenser pump is simple and straightforward. With just a few easy steps and a little bit of patience, you can have your soap dispenser working like new again. Keep your soap dispenser clean and maintained, and you’ll enjoy its benefits for years to come.
Reassembling the Soap Dispenser Pump
Now, it’s time to reassemble it and make sure it’s working like new again. Don’t worry; reassembling the soap dispenser pump is a breeze, especially if you follow these simple steps.
First things first, make sure all the parts are thoroughly dried before reassembling them. Think of it like piecing together a puzzle – you don’t want any wet pieces that won’t fit correctly. Once everything is dry, insert the pump back into the dispenser bottle and screw the collar back onto the bottle tightly.
Next, attach the straw to the bottom of the pump and ensure it’s securely in place. It’s like fitting a snorkel to your mask before diving – you want to avoid any leaks.
Now it’s time to insert the spring back into the pump and attach the little plastic washer over it, making sure it’s seated correctly. This step is critical and ensures that everything is in place, just like putting a cherry on top of a sundae.
Finally, snap the pump head back onto the top of the pump and give it a test run to make sure everything is working correctly. It’s like trying out a new pair of shoes – you want to make sure they fit comfortably and work well before wearing them out.
Remember, when reassembling the soap dispenser pump, be gentle to avoid damaging any parts or causing leaks. If everything is working correctly, you should be able to dispense soap without any issues.
In conclusion, reassembling a soap dispenser pump may seem intimidating at first, but it’s an easy process that anyone with basic DIY skills can handle. These simple steps will have your soap dispenser up and running again in no time.
g8RmJMKBEeM” >
Conclusion
In conclusion, don’t be intimidated by the thought of taking apart a soap dispenser pump. With the right tools and knowledge, it’s a breeze. Knowing how to disassemble your soap dispenser pump has many benefits, such as deep cleaning and fixing faulty pumps or replacing parts if necessary.
Firstly, identify the type of soap dispenser pump you have, whether it’s traditional or foaming. Then gather the necessary tools: slip-joint pliers, a flathead screwdriver, scissors or a sharp knife, and some lubricant.
Removing the pump from the soap dispenser requires patience and caution. You may need to use pliers or another tool to grip and twist the pump counterclockwise until it loosens from the tube. Once removed, you can access the inner workings of the pump mechanism by removing the top with a screwdriver.
Cleaning out the pump mechanism involves disassembling it and giving it a thorough scrubbing with warm water, mild soap, and a small brush or toothbrush. If needed, replace damaged parts with new ones that fit your soap dispenser.
Finally, reassembling requires gentle handling of all parts to avoid damage or leaks. If everything is working correctly after reassembly, you should be able to dispense soap without any issues.
In summary, taking apart a soap dispenser pump is an essential skill for maintaining cleanliness and hygiene in any setting.