Are you ready to start the first row of tile in your shower? It can be intimidating, but don’t worry! We’re here to help. In this blog post, we’ll guide you step-by-step on how to get the job done quickly and efficiently.
From prepping the walls and floors to selecting the right type of tile and adhesive, we’ve got you covered.
So grab your tools and let’s get started!
Contents
- 1 What You Need to Do Before Starting
- 2 How to Measure and Mark Out Your First Row of Tile
- 3 Tips on How to Place Your First Row Properly
- 4 How to Make Sure Your First Row is Straight and Level
- 5 What You Should Do After Installing the First Row
- 6 Finishing Methods for a Professional Look
- 7 Troubleshooting Common Issues With Installing The First Row Of Tile In A Shower
- 8 Conclusion
What You Need to Do Before Starting
Creating a beautiful tiled shower requires careful preparation before the first row of tiles is laid.
Start by ensuring that the walls are clean, dry and free from dust and debris. Fill any holes or cracks with a waterproofing compound to prevent water from seeping through.
Measure the width of the wall and mark off where you want to place your first row of tile.
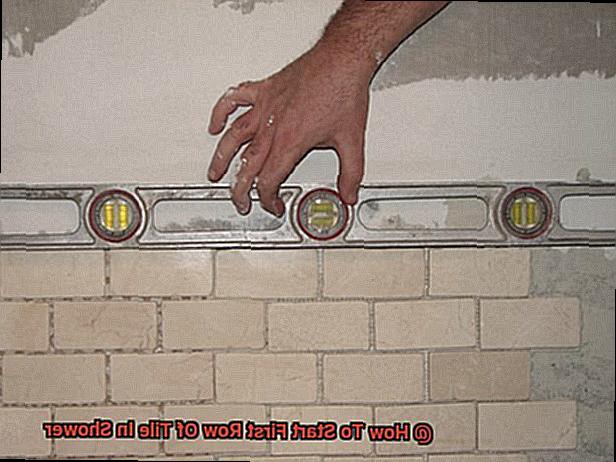
Use a level to ensure that the tiles are straight and even. If using adhesive, make sure it is compatible with your tiles and apply it uniformly on the wall. Finally, use spacers between each tile for an even line of tiles, creating cohesion in your design.
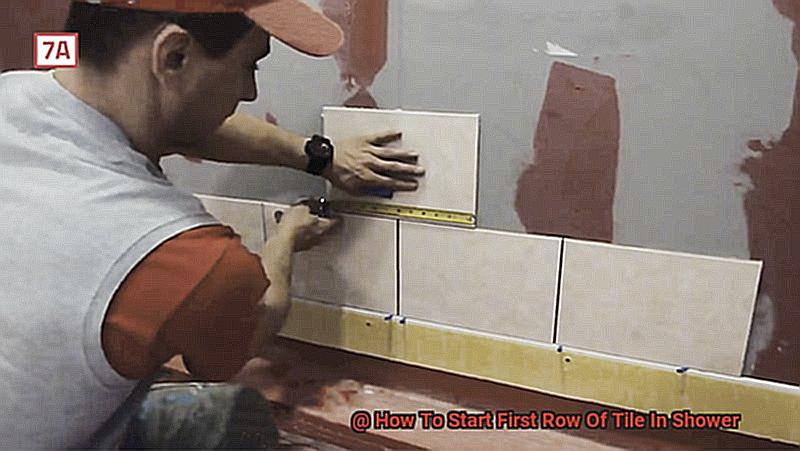
How to Measure and Mark Out Your First Row of Tile
With the right equipment and a little patience, you can measure and mark out your first row of tile like a pro!
Start by measuring the width of the wall and dividing this number by the width of your tile. This will tell you how many tiles you need in the first row. To begin, mark out the starting point for your first row on the wall with a level and pencil, making sure to account for any grout lines.
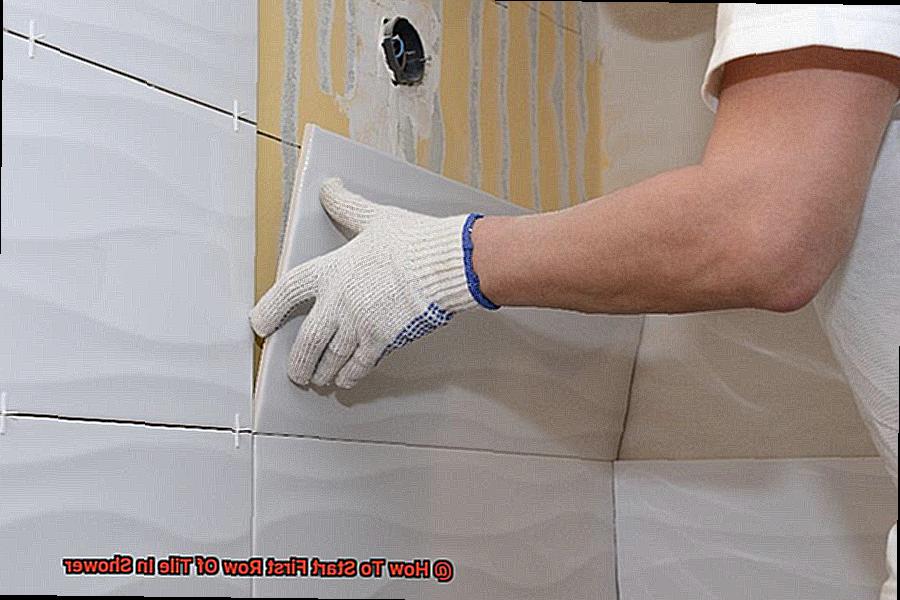
Before tiling, use a laser level to ensure that your first row is straight and level. Begin laying down tiles from left to right, making sure each one is properly aligned with the previous one. Spacers between each tile will help make sure they are evenly spaced apart.
Once all of the tiles in the first row are laid down, spread grout in between each tile using a grout float. Wipe away any excess grout with a damp sponge before starting on the next row of tiles and let it dry.
Tips on How to Place Your First Row Properly
Tiling your shower walls can be a daunting task, but with the right tools and techniques, it can be achieved with ease. Here are some essential tips for laying down your first row of tile properly.
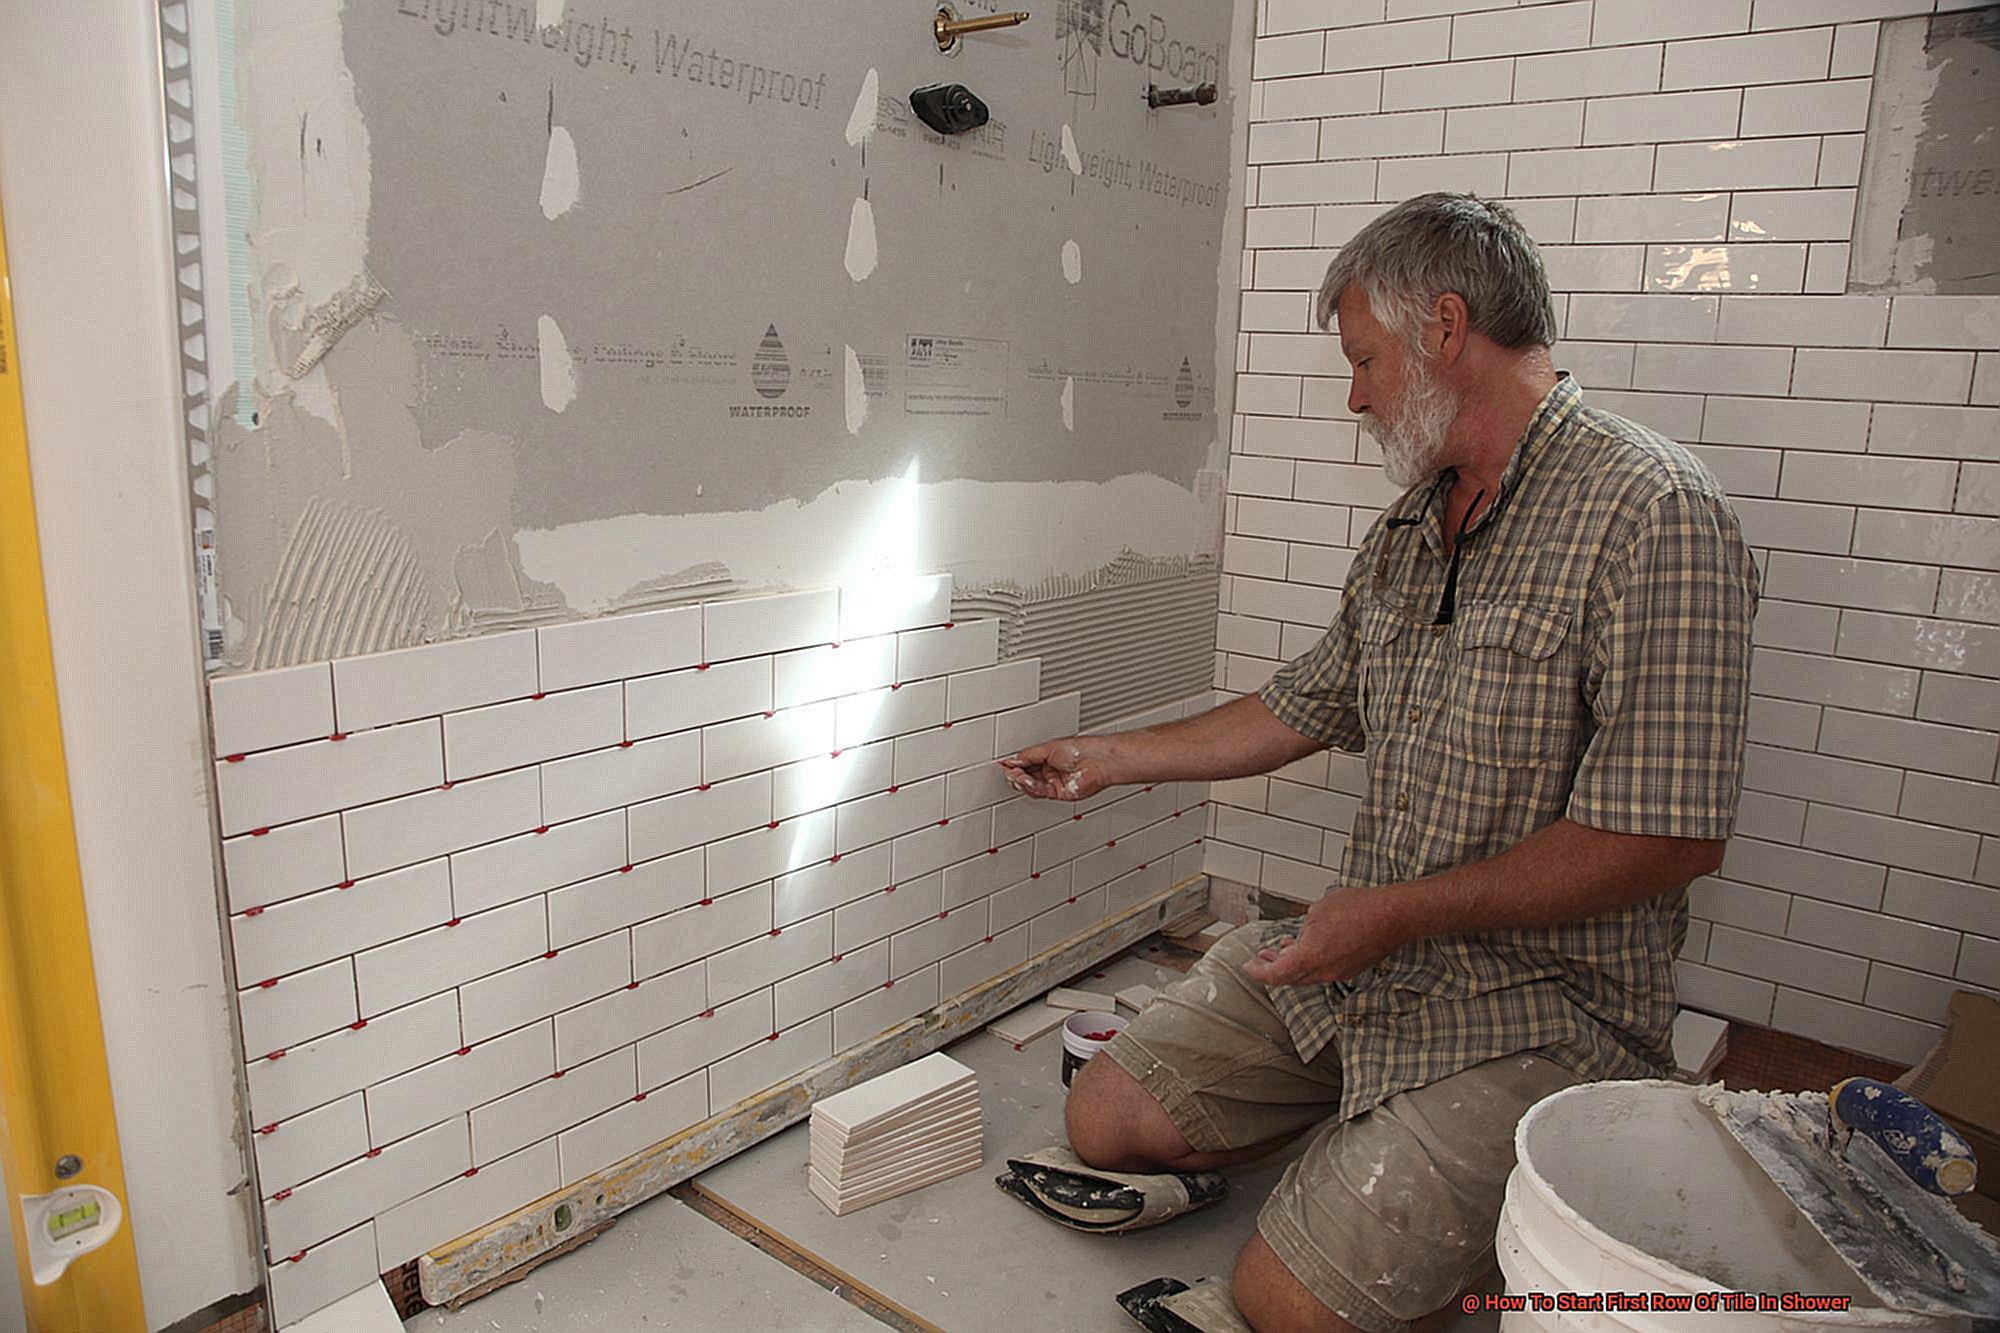
Start at the Corner
The first step is to start in one corner of the wall and work your way out. This will help ensure that each row is even and straight.
Measure & Mark: Before beginning, measure the length of the wall and mark it off with a pencil. This will help you keep track of where each tile should go.
Spacers: To make sure that each tile is placed correctly, use spacers between them. This will also help maintain a consistent grout line between each tile.
Cut Tiles as Needed
If any tiles don’t fit properly, cut them with a wet saw or tile nipper before applying adhesive to their backside. Apply Adhesive: Make sure to apply adhesive to the back of each tile before pressing it firmly against the wall.
Grout Gaps
Once all tiles are set, use grout to fill in any gaps between them for a seamless appearance.
Clean Up Excess Grout
Using a damp sponge to clean up any excess grout or adhesive from the surface of the tiles before allowing them to completely dry before starting with any more rows.
How to Make Sure Your First Row is Straight and Level
It’s essential to make sure your first row is straight and level! This is the key to achieving a consistent look throughout the entire project. Here are some useful tips for getting it right.
First, use a level to check that your wall or floor is even. This will help ensure that your tiles are laid out in the correct way. For added accuracy, you can also use a chalk line or laser level before beginning tiling.
Second, begin with your first row of tile in the middle of the wall or floor. This will create an aesthetically pleasing balance for both sides of the wall/floor.
Third, lay out all of your tiles before installation to ensure they fit properly and are spaced evenly. This will also give you an idea of how many more tiles you need in order to complete the job.
Finally, insert spacers between each tile for even spacing between them. When completed, this will help guarantee that each tile has an equal amount of room around it and looks professional.
What You Should Do After Installing the First Row
Installing the first row of tile in your bathroom or kitchen is only the beginning – sealing the edges is a crucial step in protecting your new tile from water damage.
To ensure a water-resistant barrier, use a high-quality sealant specifically designed for wet environments such as silicone caulk or polyurethane caulk. Smooth out any air bubbles using a damp cloth or sponge, and then allow the sealant to dry completely before using the shower again.
It’s also important to inspect your work periodically over time to make sure there are no gaps between tiles or loose grout lines that could let water seep behind the tile walls or floors. Doing this will help ensure that your tile installation looks great and lasts for years to come.
Sealing the edges after laying down the first row of tiles is an essential part of protecting your bathroom or kitchen from water damage.
Finishing Methods for a Professional Look
Grout, caulk, and sealant are all great options for achieving this.
Grout is a cement-based material that fills in the gaps between tiles and provides them with a seamless, cohesive appearance. Caulk is an adhesive material used to fill in any gaps between the tiles and walls, creating a waterproof barrier. Sealant can also be used to create a waterproof barrier between tiles and walls, but it can also be used to fill any small cracks or gaps on the surface of the tile.
These three steps will help you create a stunningly professional-looking tile installation in your shower.
Troubleshooting Common Issues With Installing The First Row Of Tile In A Shower
Here are some helpful tips for troubleshooting common issues when installing the first row of tile in a shower.
Start by making sure that the first row is level. This will ensure that subsequent rows of tile are even and straight. Use a level tool to double-check each row for straightness. Before you start cutting tiles, measure twice to avoid costly mistakes.
If you’re new to tiling, practice laying out the tiles on the floor before starting on the wall. This will give you an idea of how much space should be between each tile and help ensure your final product looks amazing.
When laying out your first row of tile in a shower, watch out for uneven surfaces. Uneven floors can cause problems with tiling, so make sure everything is level before beginning.
Conclusion
Installing tile in a shower can be daunting, but with the right preparation and technique, you can create a beautiful result. Get off to the best start by making sure your walls are clean and dry.
Measure and mark where you want your first row of tiles to be positioned, then use spacers between each tile for a perfect line. Use a level to ensure that your first row is straight and even.
Spread grout between each tile using a grout float, then seal the edges with high-quality sealant designed for wet environments such as silicone caulk or polyurethane caulk.
Finally, finish up with grout, caulk and sealant for an expert-level look.