Hairline cracks in shower bases can be quite a nuisance.
Not only do they look unsightly, but they can also be dangerous if left unchecked. So, how do you fix hairline crack in the shower base?
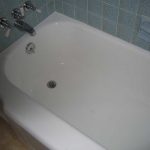
Hairline crack in the shower base is a common problem in many households. Hairline crack basically happens when the acrylic surface of your shower base starts to peel away due to exposure to water over time.
Hairline crack in the shower base is unsightly and can cause the shower base to leak water, which can result in water damage to your home. Luckily, a hairline crack in the shower base can be fixed.
The DIY method involves applying acrylic caulk to the crack and allowing it to dry overnight. However, this method doesn’t always work.
That’s why we recommend calling a professional to fix the hairline crack in your shower base. A professional can make sure the crack is repaired properly and isn’t causing leaks in your home.
Contents
What Causes Hairline Cracks in Shower Bases?
Hairline cracks in shower bases are usually caused by a combination of factors.
These include improper installation, water damage, and general wear and tear over time.
It is important to identify the cause of the hairline crack before attempting to repair it.
Assessing Damage
Before attempting to repair a hairline crack in a shower base, it is important to assess the extent of the damage.
If the crack is more than an eighth of an inch wide or if there are any other signs of structural damage, it is best to call a professional for assistance with repairs.
Preparation
Once you have assessed the damage and determined that repairs can be done safely at home, you will need to take some steps to prepare for fixing the hairline crack.
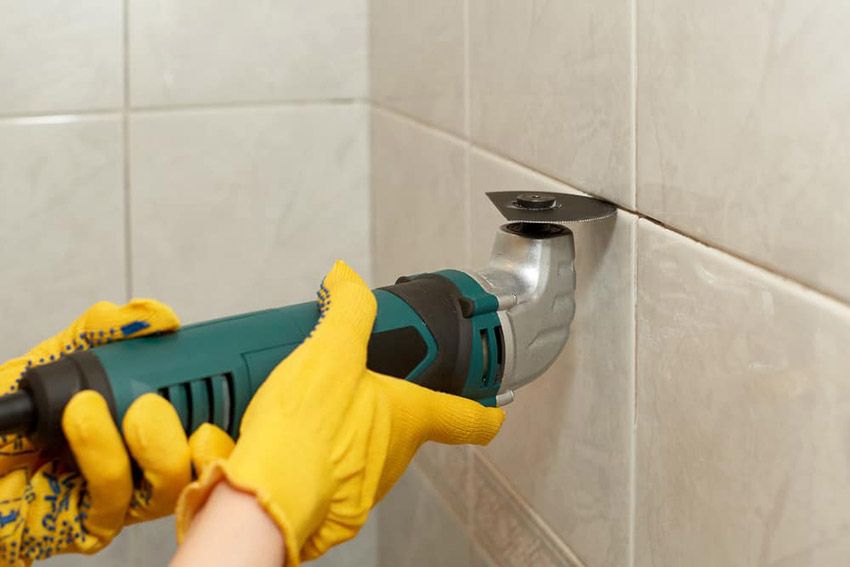
This includes cleaning out any debris or dirt that may have accumulated around the area and removing any loose pieces of grout or caulk that may be present.
You will also need to make sure that all surfaces are dry before proceeding with repairs.
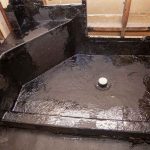
Repairing The Crack
Once your preparation work is complete, you can begin repairing the crack in your shower base.
Start by filling any gaps with silicone caulk or epoxy putty and smoothing it out with a damp cloth or sponge. Allow the material to dry completely before continuing on with repairs.
After everything has dried, you may need to apply additional layers of caulk or epoxy putty until the crack has been completely filled in and smoothed out.
Once this has been done, you can move on to finishing touches such as applying grout around edges and caulking any remaining gaps between tiles and walls in order to ensure watertightness and prevent future cracking from occurring due to water seeping through these areas.
Finishing Touches
After repairing the hairline crack in your shower base, there are still some finishing touches that may need to be taken care of before calling it complete.
This includes applying grout around edges where needed and caulking any remaining gaps between tiles and walls that could allow water seepage into these areas, which could lead to future cracking over time due to water damage accumulating over time if left unchecked.
Additionally, you may want to seal all surfaces with waterproof sealant for added protection against moisture-related issues down the line, such as mold growth or further cracking due to water accumulation over time if left unchecked.
Cleaning and Maintenance
Hairline crack in the shower base is a common problem.
It’s caused by excessive moisture or water getting behind the tiles and causing the base of the shower to swell up.
Hairline crack in the shower base can also be caused by the use of harsh cleaners on the cement sealant between the tiles and shower base.
Fortunately, a hairline crack in the shower base is easily and inexpensively repaired.The first thing to do when a hairline crack in the shower base appears is to clean all mold and mildew from the tiles and shower base.
After that, use diluted bleach or hydrogen peroxide to clean the cement sealant between the tiles and shower base. Finally, apply a waterproofing sealant to the cement sealant.
These fixes will help get rid of a hairline crack in the shower base and keep the problem from recurring.
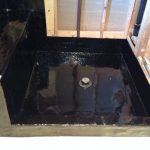
How To Fix Hairline Crack In Shower Base
Bathroom waterproofing is no joke, and it’s very important to ensure you fix hairline cracks in the shower base as soon as possible.
Hairline cracks are a sign of water leakage, and it’s crucial you fix them immediately.
Hairline cracks are a result of poor waterproofing and improper surface preparation during construction.
After a shower, the surfaces of your shower base will get wet, and your sealant will dry out. If the surface is not completely dry before your next shower, the sealant may get dirty and start to peel.
The wet surface will shrink, and the sealant will now crack due to the pull of gravity and water. Hairline cracks can be repaired by applying a sealant over the crack and filling it with silicon resin.
How To Prevent Hairline Crack In Shower Base
Cracks in a shower base are unsightly and can get wider over time. But not every crack means there are underlying issues with the shower base. Cracks can be caused by a number of factors, including poor drainage and improper fitting.
To prevent hairline cracks in a shower base, you should follow these simple tips:
- Make sure that your shower base is level – Even a small deviation in the base can cause cracks to appear. To ensure that your base is level, use a spirit level to determine if the edges are completely level.
- Install a shower curtain liner – If cracks start to appear, you should install a shower curtain liner to stop water from leaking to the base of the shower. Use a silicone sealant to seal the base around the drain.
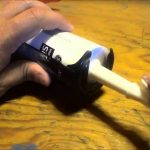
- Use silicone sealant – Apply silicone sealant to areas where water might leak out and prevent it from getting into the shower base. Silicone sealant is easy to apply and dries quickly.
- Add more drainage – You can use a floor drain to improve drainage and prevent water from pooling and causing cracks in your shower base. The floor drain should be inserted near the corner of the shower and be at least 2 inches above the floor.
- Ensure that the shower base is sealed – To properly seal the shower base after installation, you should apply silicone sealant around the bottom of the shower base and along the top of the base.
Also Read: The Bathtub Lip Sticks Out
Conclusion
No matter how much planning you do to prevent cracks from forming in your shower base, hairline cracks can still happen.
They happen when your shower base is not sealed properly around its edges or corners. To fix hairline cracks, you need to completely remove the old caulking and repair your shower base.
However, if you’ve been using the same caulk for many years, there’s a good chance that the old caulking has a lot of mold or mildew growing inside it.
If this is the case, you should replace the old caulking with a new one to prevent mold or mildew from growing in the caulk in the future.