Do you hear a booming banging noise every time you turn on the shower? This could mean that your shower pipe is loose. A loosening shower pipe can lead to water leaks, mold growth, and costly repairs.
But don’t worry. Finding and securing a loose shower pipe is something anyone can do with the right tools and knowledge.
In this blog post, we’ll show you how to secure a loose shower pipe. We’ll provide tips for getting the job done properly and discuss why it’s important to take care of this issue quickly.
Plus, we’ll give you some advice on how to maintain your pipes in the future. If you have a squeaky shower or suspect that your pipes are loose, keep reading to learn how to protect them safely and effectively.
You can get back to enjoying peaceful showers with no banging sounds in no time.
Contents
- 1 Step 1: Identifying the Source of the Problem
- 2 Step 2: Tightening the Mounting Nut
- 3 Step 3: Installing a Shower Pipe Stabilizer
- 4 Step 4: Replacing or Securing the Bracket for a Loose Shower Head Holder
- 5 Safety Tips When Working With Water Supply
- 6 Common Tools Needed to Secure a Loose Shower Pipe
- 7 Benefits of Securing a Loose Shower Pipe
- 8 Troubleshooting Tips if You Encounter Issues Fixing Your Shower Pipe
- 9 Conclusion
Step 1: Identifying the Source of the Problem
If your shower pipe is loose and wobbly, don’t worry—it’s an easy problem to diagnose and fix.
The first step is to identify the source of the issue in order to take the most effective steps towards securing your shower pipe. Here’s how to do it:
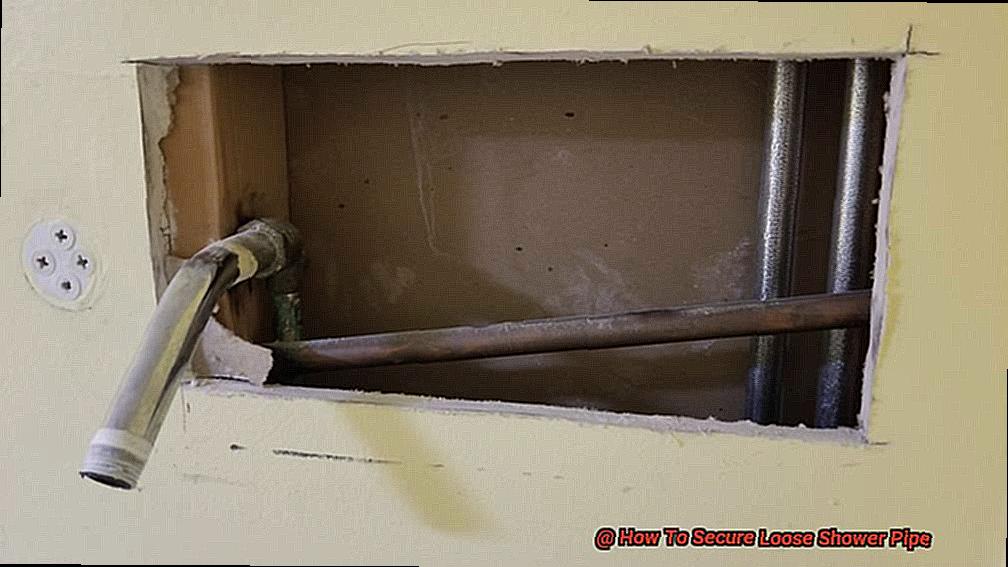
Begin by examining the pipe and its connection points for any visible signs of wear or damage. Gently jiggle the pipe to see if it moves or feels loose in any particular spot.
Additionally, turn on the shower and observe the pipe closely to see if it vibrates or moves during use. If improper installation is causing your loose shower pipe, you may be able to resolve it by tightening the connections or using a stabilizer.
However, if there is significant damage done to the pipe or connection points, you may need to replace the entire pipe or hire a professional.
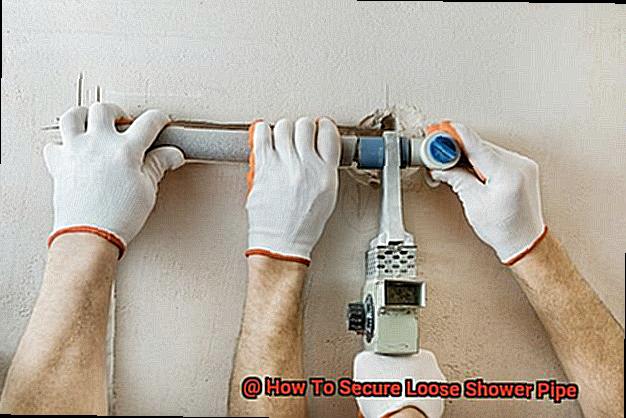
Step 2: Tightening the Mounting Nut
Securing a loose shower pipe requires just one simple step – tightening the mounting nut.
This is the nut that connects the shower arm to the wall and keeps it in place. Over time, this nut may become loose due to constant use, water pressure, or other factors.
To begin, turn off the water supply to the shower. Then, use adjustable pliers or a wrench to tighten the mounting nut securely but not too tightly – overtightening can cause damage to the pipe or wall.
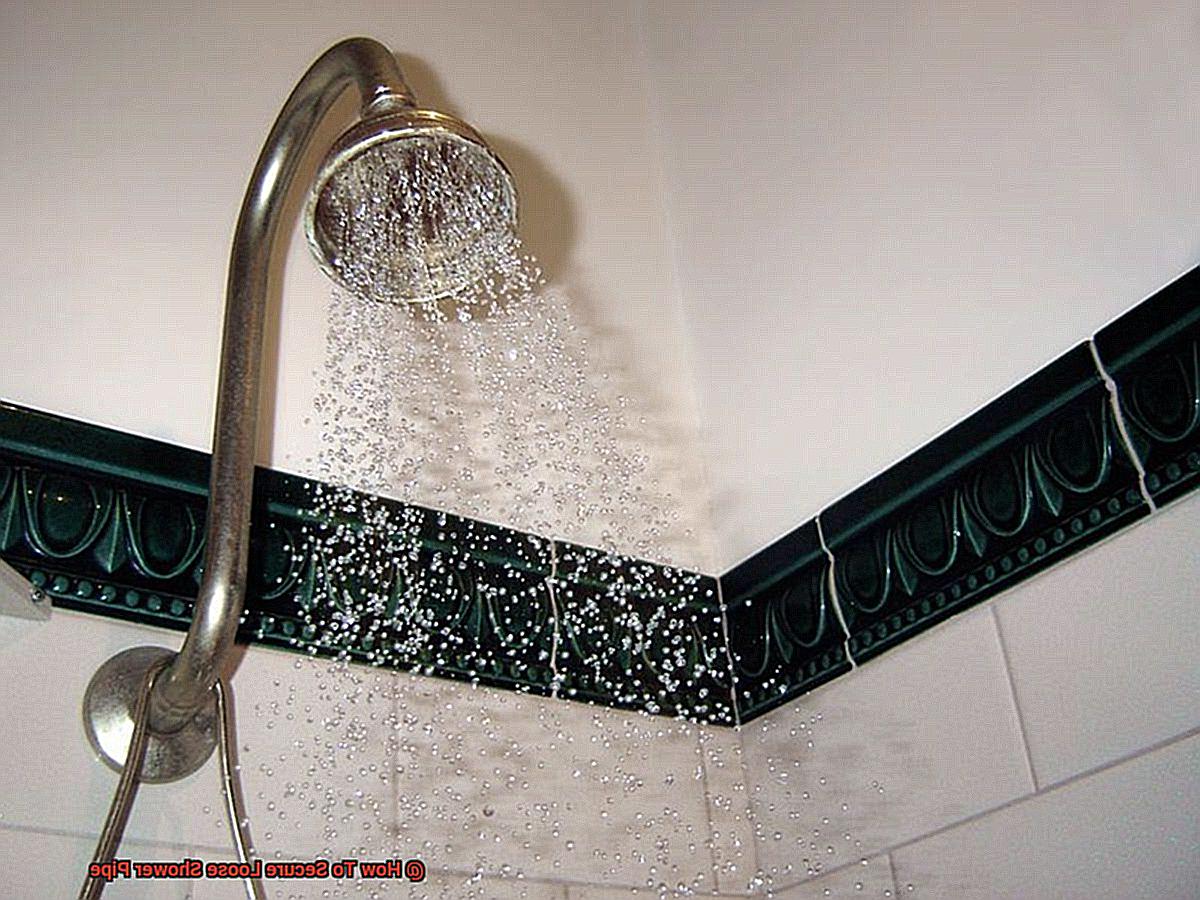
For extra grip and protection against scratches, it may be helpful to use a cloth or rubber jar lid opener. Once you’ve tightened up the nut, turn on the water supply and test out your shower – you’re done.
Tightening the mounting nut is an essential part of keeping your shower dry and leak-free.
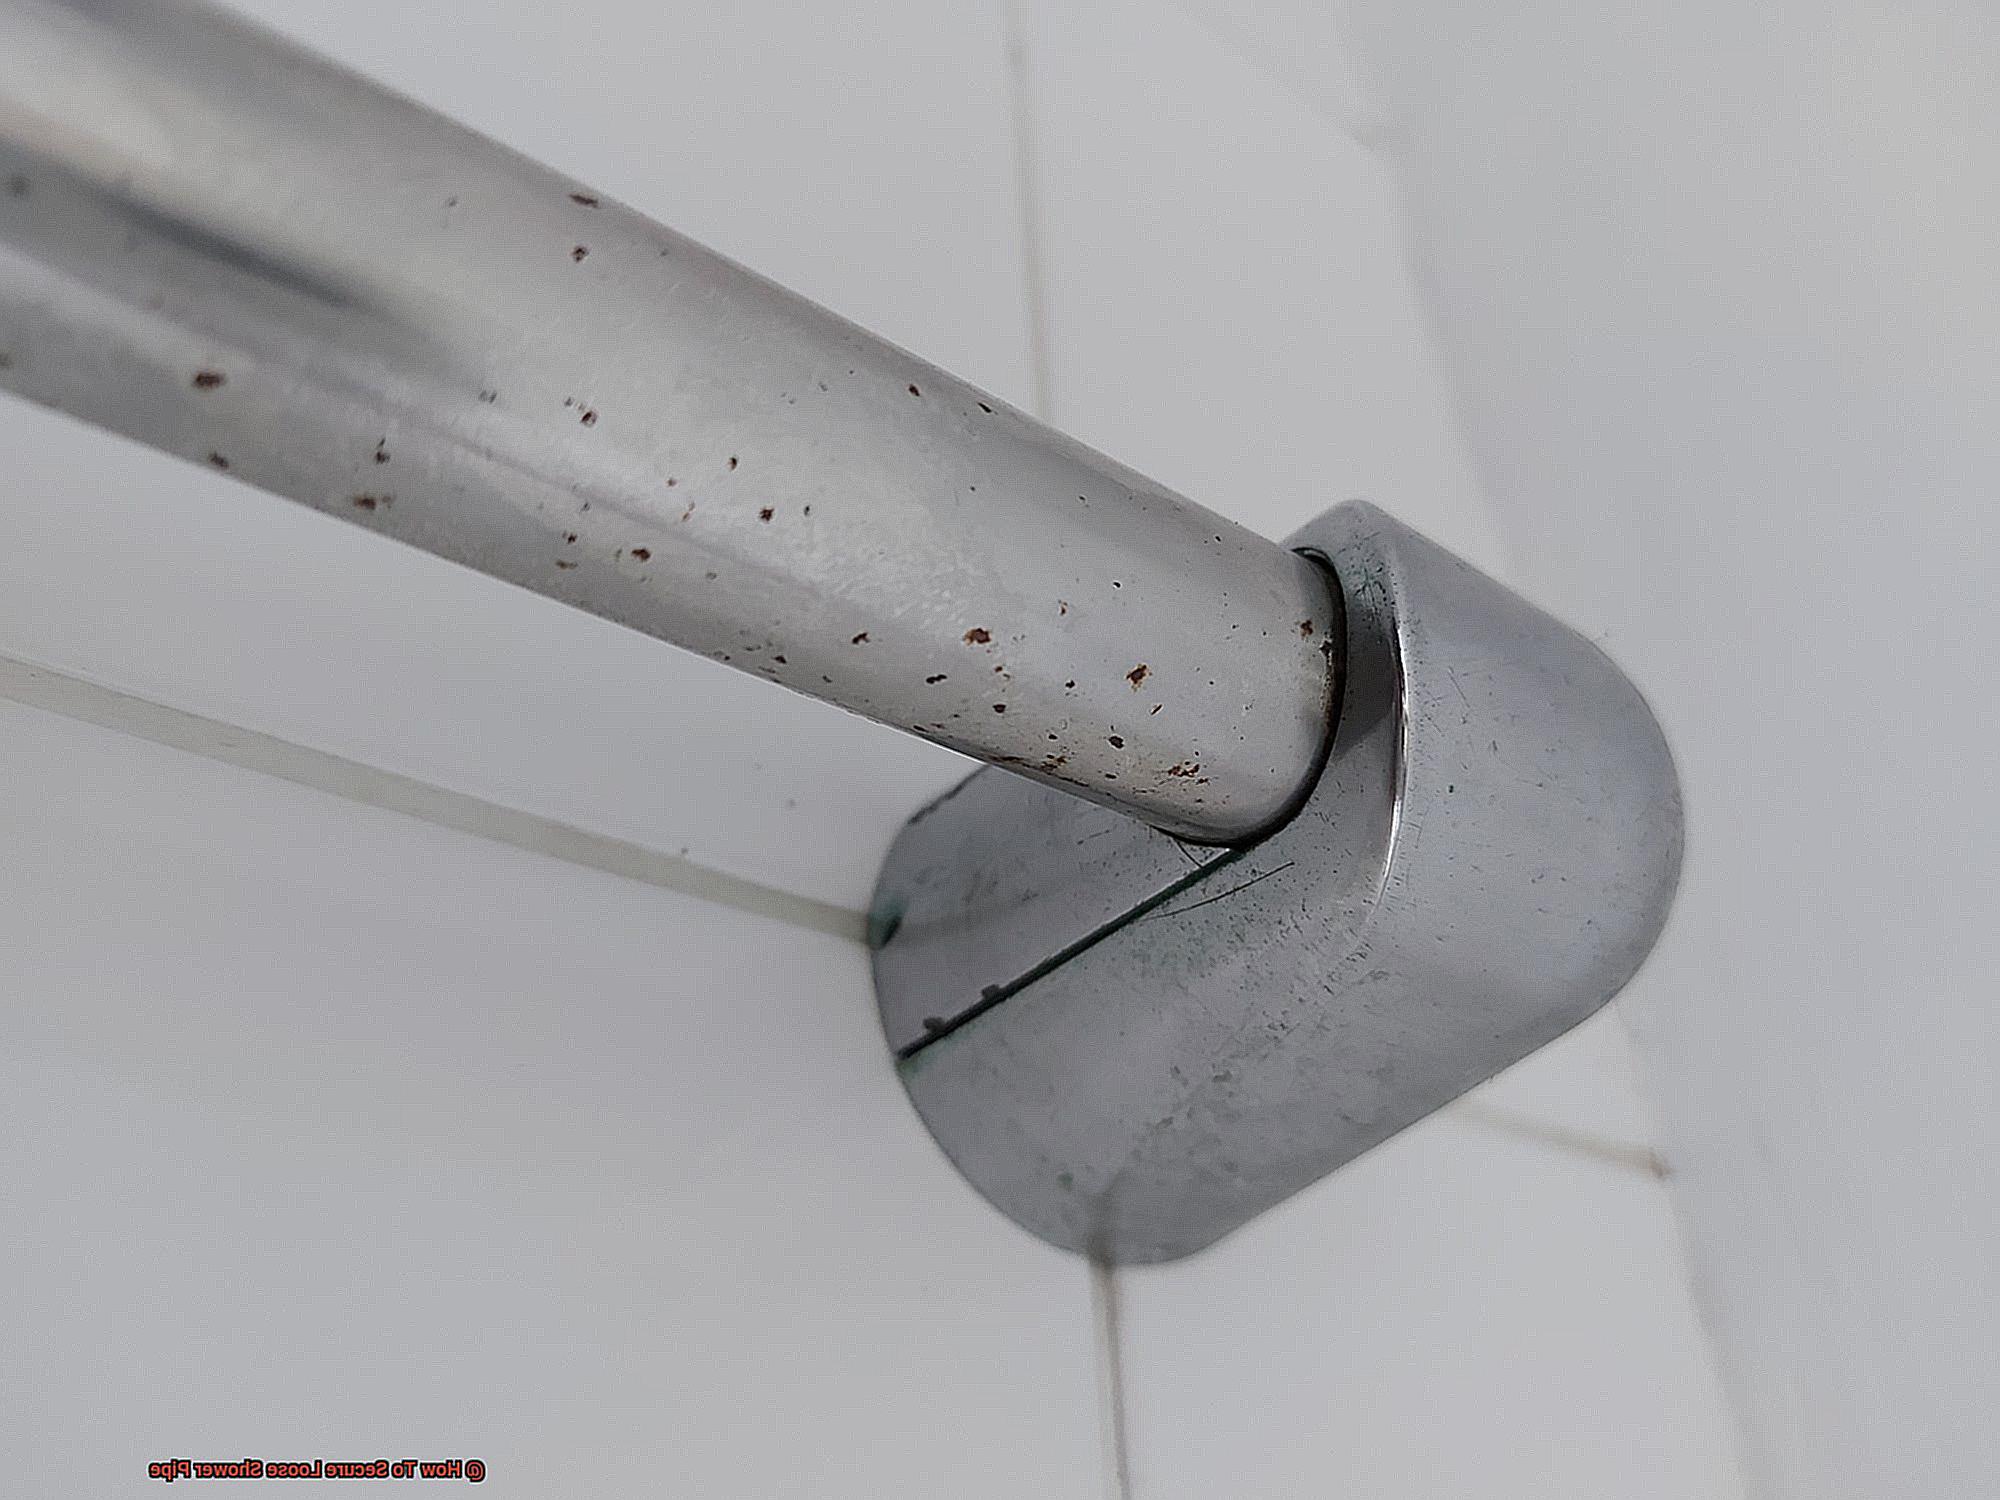
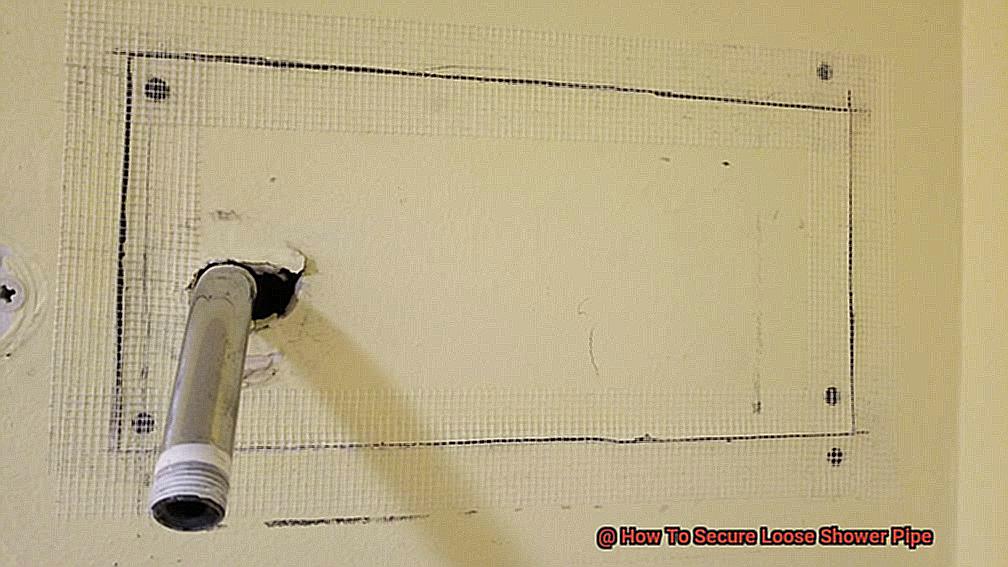
Step 3: Installing a Shower Pipe Stabilizer
Secure your shower pipe and enjoy leak-free showers with the help of a shower pipe stabilizer.
Installing a stabilizer is an easy way to prevent your shower arm from rotating and coming loose from the wall. Here’s what you need to do:
First, identify the location of your shower pipe. Once you’ve found it, buy a stabilizer that fits its diameter.
Make sure it is made of durable materials that can withstand high water pressure. Next, remove the showerhead and arm from the wall.
Slide the stabilizer over the pipe and position it against the wall, making sure it is level with the wall before marking where you’ll need to drill pilot holes for screws. Now attach the stabilizer to the wall using screws, and then reattach your shower arm and head to it.
Before testing out your new setup, make sure everything is tightly secured and aligned properly.
Step 4: Replacing or Securing the Bracket for a Loose Shower Head Holder
Ensuring your shower head holder remains firmly in place is easy and can be done without calling a plumber.
To secure or replace the bracket for a loose shower head holder, first determine the size and type of bracket you need. Measure the diameter of the shower arm and the diameter of the shower head holder and use this information to purchase the right bracket.
Then, remove the old bracket with a screwdriver and install the new one. If replacing isn’t an option, use a screwdriver to tighten the mounting screws that hold the bracket to the wall – but be careful not to overtighten them as this can cause damage to your walls.
Finally, reattach the shower head and test it out for security.
Safety Tips When Working With Water Supply
When it comes to working with water sources, safety should always be a top priority. From plumbing leaks to securing a loose shower pipe, there are many potential risks that can arise if proper precautions aren’t taken. To help you stay safe and secure your shower pipe without incident, here are five essential safety tips to keep in mind.
Turn Off the Water Supply
Before attempting any repairs, make sure you shut off the water supply to the shower. Doing so will help prevent any accidental leaks or damage to your property.
Wear Protective Gear
Always wear gloves and eye protection when doing any plumbing repair work, as this will protect you from any pieces of metal or debris that may come loose during the process.
Use the Right Tools
Make sure you have the right tools for the job, such as a pipe wrench, pliers, and a screwdriver. Having the right equipment will ensure that your repairs are carried out properly and safely.
Be Gentle
When removing the shower arm or holder, use gentle pressure to avoid damaging the valve assembly or wall behind it. Taking your time and being careful will ensure that everything is protected without causing further harm.
Know What You’re Doing
If you’re not confident in your ability to make repairs on your own, it’s best to call in a professional plumber who has experience with these types of projects. Attempting to fix it yourself without the proper knowledge could lead to additional damage or even flooding, so don’t take risks.
Common Tools Needed to Secure a Loose Shower Pipe
Securing a loose shower pipe can be a daunting task, but with the right tools and some experience, it can be done quickly and easily.
Here are the common items you’ll need to get the job done safely: A pipe wrench is an essential tool for getting a good grip on the fitting so you can turn it quickly.
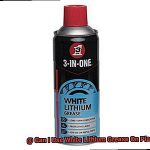
An adjustable wrench can also be used in place of a pipe wrench, but it may not have the same gripping power. Teflon tape is a must-have for tightening the threads of the shower pipe.
This thin white tape prevents water from leaking out of the joint and makes it easier to tighten the fitting. Screwdrivers are often needed to remove the showerhead or shower arm from the wall as well as loosen any screws holding the cover plate in place.
Pliers are helpful when dealing with any broken or corroded parts from your vehicle’s assembly, as well as holding nuts and bolts in place while tightening them. If your shower pipe needs to be cut down to size, you’ll need a handsaw to make sure it’s cut cleanly and smoothly.
Having these tools on hand will make it easier to secure a loose shower pipe and prevent future leaks or damage to your bathroom walls.
Benefits of Securing a Loose Shower Pipe
Don’t let a loose shower pipe be a source of stress.
With the right equipment and a bit of know-how, you can easily secure it and reap the rewards. Securing a loose shower pipe offers many benefits, from preventing unexpected falls to avoiding water damage.
First and foremost, securing the pipe prevents the showerhead from falling off during use. This can be especially dangerous if the showerhead is heavy and falls on someone.
It also ensures that the showerhead is stable and won’t wobble during use, making for a more comfortable experience. Securing the pipe also helps to prevent water leaks behind the wall, which can cause damage and even lead to mold growth.
Lastly, it adds value to your home when prospective buyers see that it has been well maintained with necessary repairs made.
Troubleshooting Tips if You Encounter Issues Fixing Your Shower Pipe
Fixing it can be a hassle, but it doesn’t have to be. With the right tools and techniques, fixing a loose shower pipe can be a quick and easy DIY project. Here are five troubleshooting tips that will help you secure your shower pipe and get your shower running smoothly again.
Start by checking for corrosion. Corrosion is one of the primary reasons why shower pipes become loose, so if you spot any rust, consider replacing the entire pipe with something more robust.
Next, make sure all fittings are properly tightened. Use a pipe wrench or pliers to grip the fittings and tighten them up, but be careful not to overtighten.
Teflon tape is also great for sealing joints and preventing leaks. It’s an inexpensive way to keep your pipes secure and in place.
If your shower pipe is located inside the wall, consider using a pipe stabilizer as well. This device attaches behind the wall to support the pipe and prevent it from moving around.
Finally, if none of these tips work or you’re feeling overwhelmed by the job, don’t hesitate to call in a licensed plumber. They’ll have the necessary expertise to diagnose and fix any issue correctly.
FZyQuwSMvWE” >
Conclusion
Tackling a loose shower pipe is an easy yet essential job that anyone can do with the right tools and know-how.
In this blog post, we provided step-by-step instructions to secure your shower pipe quickly and safely. We also discussed why it’s important to take care of this issue promptly, gave tips on how to clean your pipes in the future, and looked at common tools needed for the job.
In addition, we covered five safety considerations when working with water supply systems and the benefits of getting a loose shower pipe fixed. If you have any problems with your shower pipe, we’ve got some troubleshooting information too.
Ultimately, neglecting a wobbly or squeaky shower pipe could lead to water leaks, mold formation, and expensive repairs – so don’t let it slide.