Do you dread taking a shower because of the weak water flow?
Is your shower valve producing a mere trickle instead of a satisfying spray? The culprit could be a common problem: a shower valve that’s too deep in the wall.
When the valve is set too far back, it can cause low water pressure or even block the water flow altogether. But don’t despair.
You don’t need to have special plumbing skills or deep pockets to fix this issue. With just a few tools, some time, and patience, you can restore your shower’s water pressure and enjoy an invigorating shower experience once again.
In this blog post, we’ll share some quick fixes to help you tackle a high-in-the-wall shower valve. We’ll guide you through locating and accessing the valve, adjusting its position, and testing the water pressure.
How to Fix Shower Valve Too Deep In Wall
Step 1: Turning Off the Water Supply
If you don’t turn off the water source before repairing a shower valve, water will continue to flow through the pipes, causing significant water leaks or even flooding. To prevent any potential water damage or leaks during the repair process, locating and shutting off the water supply is the first step.
This is a simple procedure that can usually be carried out by finding the valve under the sink or in the basement and turning it clockwise until it stops. However, if you’re unsure of where the valve is located or experience any issues during this procedure, it’s always best to consult with a licensed plumber or contractor.
Once you have turned off the valve, make sure that it is fully closed and that no water is running before proceeding with the repair. You may also want to open a faucet in the bathroom to release any remaining water in the pipes.
It’s important to remember that cutting off the water supply may have an effect on other areas of your home that rely on water, such as your kitchen or other bathrooms. Be sure to inform anyone in your household about the temporary water shut off and plan accordingly.
Don’t take this step lightly, and you’ll be on your way to replacing your shower valve with minimal fuss.
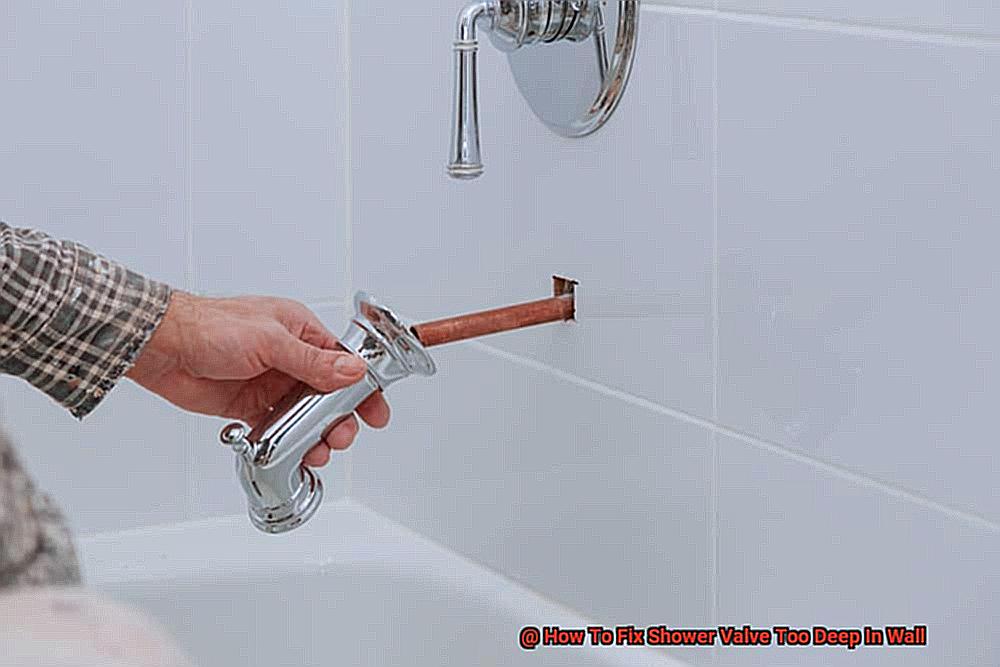
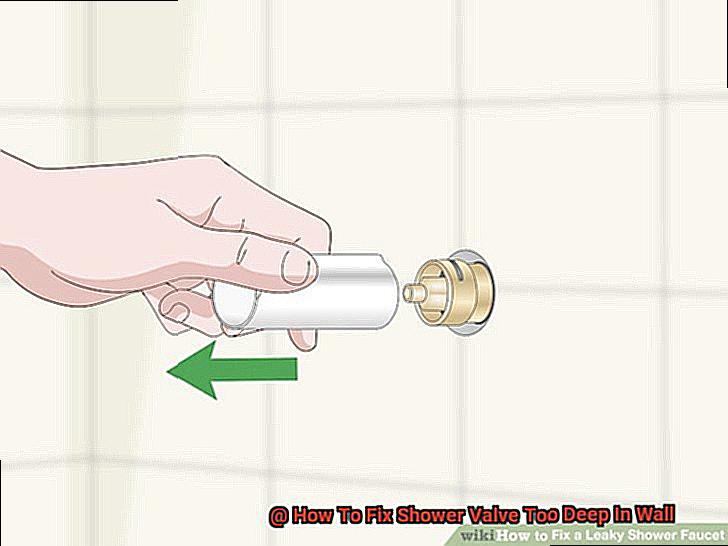
Step 2: Removing the Old Shower Valve
This is a critical step as it allows for the new valve to be installed correctly, resulting in a flawless shower experience.
To begin, turn off the water supply to the shower to avoid any water damage or unexpected surprises. Next, remove any cover plates or handles that may be hiding the old valve.
Think of it as unwrapping a present, but instead, you will uncover a hidden valve. Depending on the type of valve, you may need to use a wrench or pliers to loosen and remove it from the wall.
Take care during this step not to damage any pipes or fixtures nearby. Picture it like untangling a necklace – gentle movements are necessary to avoid breaking anything.
In some cases, removing the old shower valve may require cutting into the wall to access it. If this is necessary, please follow proper safety procedures when using power tools.
Imagine being a skilled surgeon performing a delicate procedure – precision and caution are vital. After removing the old valve, inspect the surrounding pipes and fittings for any damage or wear that may need attention before installing the new valve.
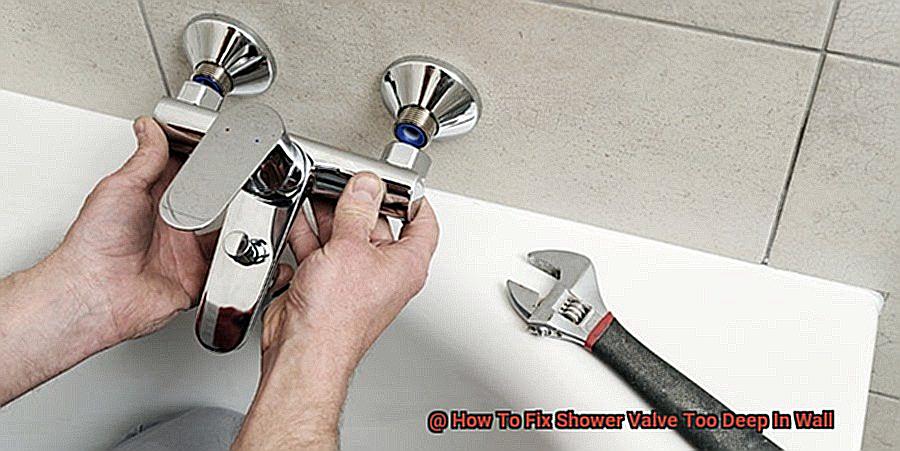
Step 3: Installing a New Shower Valve at the Correct Depth
Installing a new shower valve can be challenging, but it’s crucial to make sure it’s installed at the right depth.
If the valve is too deep, it can be tough to adjust, and if it’s too shallow, the handle may not function correctly. Don’t worry though, with the right tools and knowledge, you can get this job done like a pro.
The first step is to measure the thickness of your finished wall. This measurement is critical because it will determine how far back the valve needs to be adjusted.
Once you’ve got that figured out, you’ll need to determine the length of the valve stem needed to connect it to the handle. Now comes the exciting part – cutting a hole in your wall.
This hole should be slightly bigger than the valve itself so that you have enough space to work. Once you have access to the back of the valve, you can adjust its depth by adding or removing spacers.
Most valves come with spacers that are designed to fit between the valve body and the wall. To add them, slide them onto the valve body and position them at the desired depth.
Once they’re in place, tighten those mounting screws, and you’re good to go. It’s essential to note that different valves may have specific installation instructions – always consult the manufacturer’s manual before beginning any installation.
If you’re unsure about how to install a shower valve at the correct depth, don’t hesitate to call in a licensed plumber for assistance.
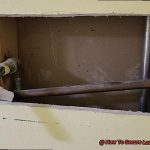
Step 4: Cutting Away Drywall (If Necessary)
Cutting away some drywall could be the solution to finding and fixing the problem.
However, before you grab your tools and start hacking away at your wall, let’s take a look at the steps required for a successful and stress-free job. First things first, locate the precise position of the shower valve by removing the handle and trim plate.
Measuring the depth from the finished wall is crucial to determine how much drywall needs to be removed before you can access the valve. This step not only saves time and effort but also prevents any unnecessary damage to the surrounding drywall.
Now, it’s time to make the cut with a drywall saw or reciprocating saw. Ensuring that your cut is as straight as possible will help avoid any additional damage to the surrounding drywall.
Safety goggles and a mask are essential while cutting as drywall dust can be harmful. Think of it as a surgeon’s job – precision and safety are key.
After cutting away the drywall, assess whether any additional framing needs to be added to support the valve. If necessary, install wood blocking or metal brackets according to local building codes.
This action guarantees your valve’s safety and longevity. Once any required framing has been completed, it’s time to install the new shower valve according to the manufacturer’s instructions.
Before repairing and patching up the cut drywall, don’t forget to check for leaks. You’ll feel like a hero rescuing your shower from disaster.
Cutting away drywall may seem daunting, but it can be a cost-effective alternative to replacing a shower valve that is too deep in the wall with careful planning and execution.
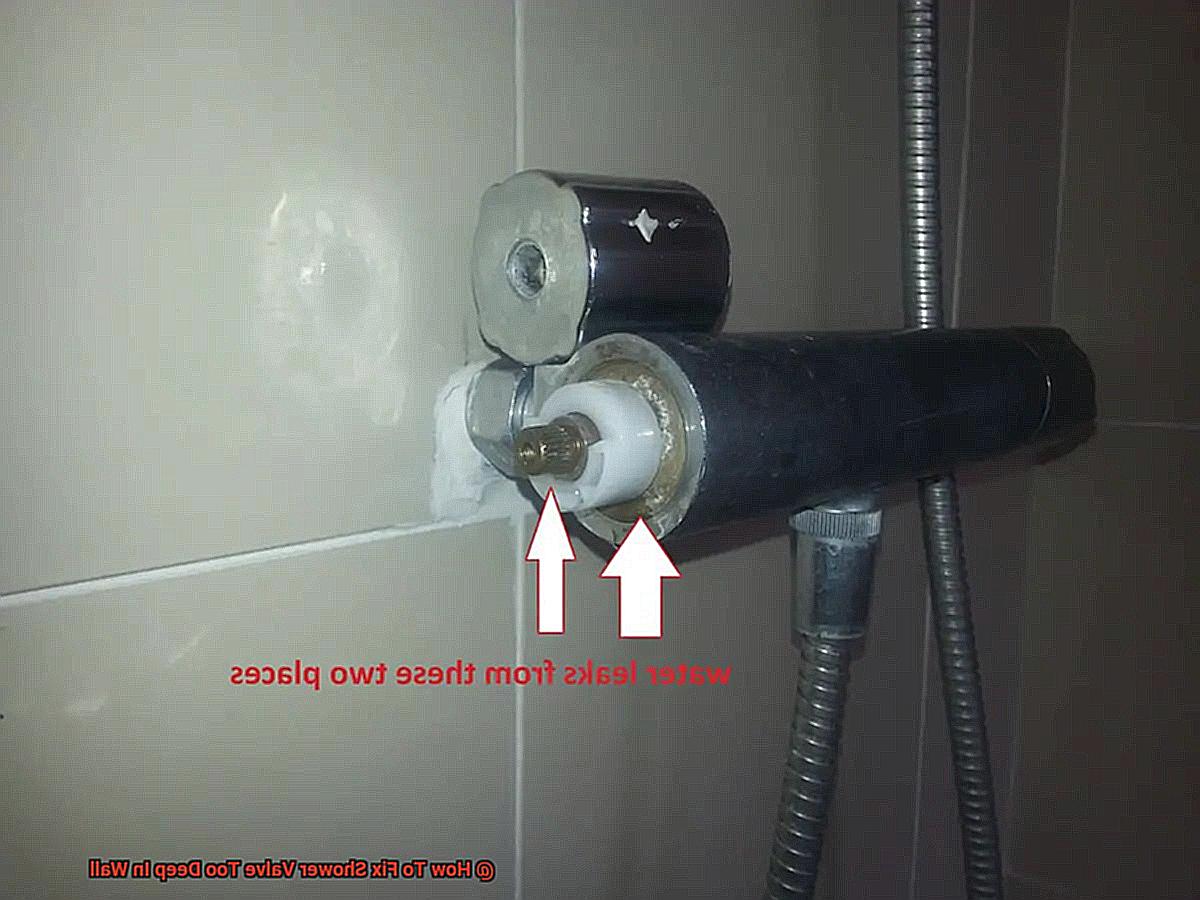
Step 5: Reattaching Nuts or Bolts and Sealing Around the Valve
To begin with, it’s essential to ensure that the valve is correctly aligned and level. This will guarantee that it works efficiently without any leaks.
Once you’ve got it in the right position, grab your trusty wrench and start tightening the nuts or bolts. But, remember not to over-tighten them as this could cause damage to the valve or piping.
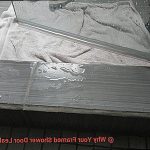
To avoid any annoying leaks, it’s vital to seal around the valve. The ideal solution in this situation is silicone caulk.
Apply a generous amount of caulk around the edges of the valve, ensuring that all gaps and holes are adequately filled. It’s like frosting a cake; you want everything covered and smooth.
And now for the fun part – smoothing out the caulk. You can use your finger or a caulk smoothing knife for this step.
It’s like giving your shower valve a mini-makeover. Don’t worry if it’s not perfect; nobody is flawless, right?
Before turning on the water, ensure that the caulk has enough time to dry. Refer to the manufacturer’s instructions for recommended drying time, but generally, silicone caulk takes 24-48 hours to cure completely.
Here’s a pro tip: Reattaching nuts or bolts and sealing around the valve are crucial steps in fixing a shower valve that is too deep in the wall. By following these simple yet patient instructions carefully, you can ensure a successful repair that will keep your shower functioning properly for years to come.
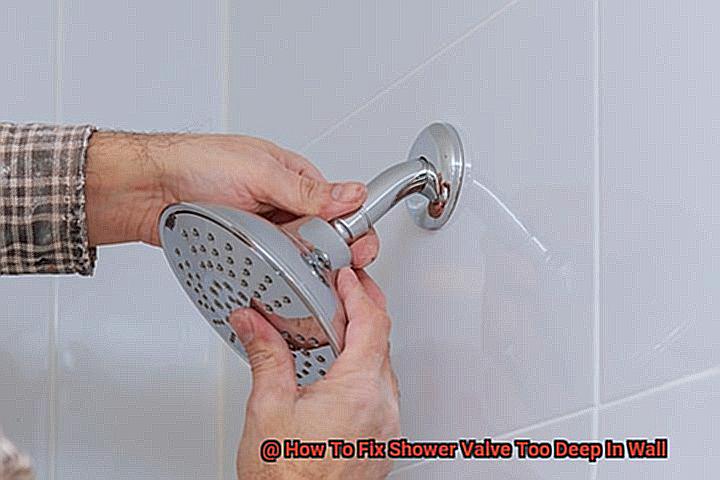
Step 6: Testing the New Shower Valve
Testing the new shower valve is a critical step in the installation process, akin to taking a test drive after repairing your car’s engine. You want to make sure that everything is working as expected and avoid any further harm or problems down the road.
To test your new shower valve, turn on the water supply and let it run for a few minutes. Keep an eagle eye out for any leaks or drips around the valve, and make sure the water flow and temperature are operating flawlessly.

Consider it as trying out your new shower valve. If you encounter any issues with the water supply or temperature, don’t worry.
It could be that the valve is incorrectly installed or that your plumbing system is defective. Addressing these concerns before beginning the installation process can save you time, money, and headaches in the long run.
Once you’ve established that your new shower valve is operating correctly, you’re ready to complete the installation process. This might involve adding trim pieces or covers over the valve and securing it in place.
It guarantees that everything is installed correctly and operating flawlessly, saving you from future frustration and headaches.
H1PPUKZEfi0″ >
Conclusion
In conclusion, a shower valve that’s too deep in the wall can cause water pressure to drop or even block the flow entirely.
But fret not, fixing this issue is simpler than you might think and won’t break the bank or require specialized plumbing skills. Before beginning any repair work, it’s crucial to turn off the water supply to prevent any potential leaks or accidents.
Once you’ve done that, open up the old shower valve and examine the pipes and fittings for any signs of wear or leakage that may require attention before installing the new one. To ensure optimal performance without any leaks, it’s critical to install the new shower valve at the correct height.
Determine how far back you’ll need to adjust the valve by calculating your finished wall’s thickness. If you have access to the back of the valve, spacers can be inserted or removed to adjust its depth accurately.
To avoid pesky leaks, we recommend replacing both nuts and bolts while sealing around the edges of your new shower valve with silicone caulk. Finally, test out your newly installed shower valve by turning on the water source and allowing it to run for a few minutes.
This step will ensure that everything is working correctly and give you peace of mind knowing that your repair job will keep your shower functioning correctly for years to come.