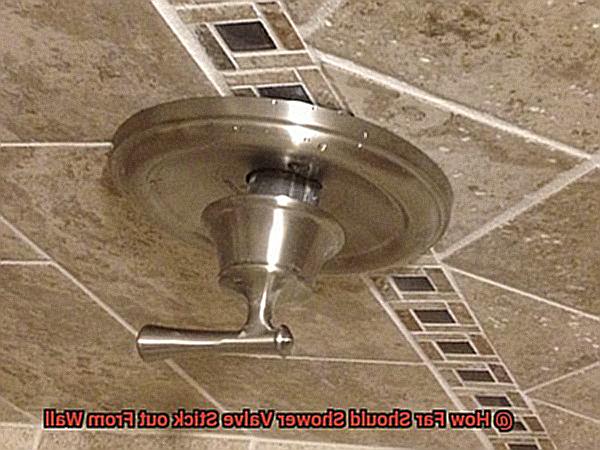
Have you ever wondered if your shower valve should stick out from the wall?
It may seem like a small detail, but getting the right measurement can make a big difference in your shower’s comfort and safety. Whether you’re renovating your bathroom or just replacing an old valve, it’s crucial to get the measurements right.
The position of your shower valve affects the placement of other plumbing fixtures and the height of your showerhead. If your valve sticks out too far from the wall, it can be impossible to adjust water flow or install a showerhead at a desirable height.
Conversely, if it doesn’t stick out far enough, turning the handle or adjusting temperature can be difficult, and the valve is more prone to leaks and wear over time. So how far should your shower valve stick out from the wall?
In this blog post, we’ll delve into these important aspects and provide tips for finding the perfect measurement for your shower valve.
Contents
Factors to Consider When Installing a Shower Valve
When it comes to installing a shower valve, you want to ensure that all factors are carefully considered to guarantee a flawless installation and optimal functionality.
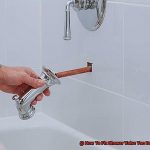
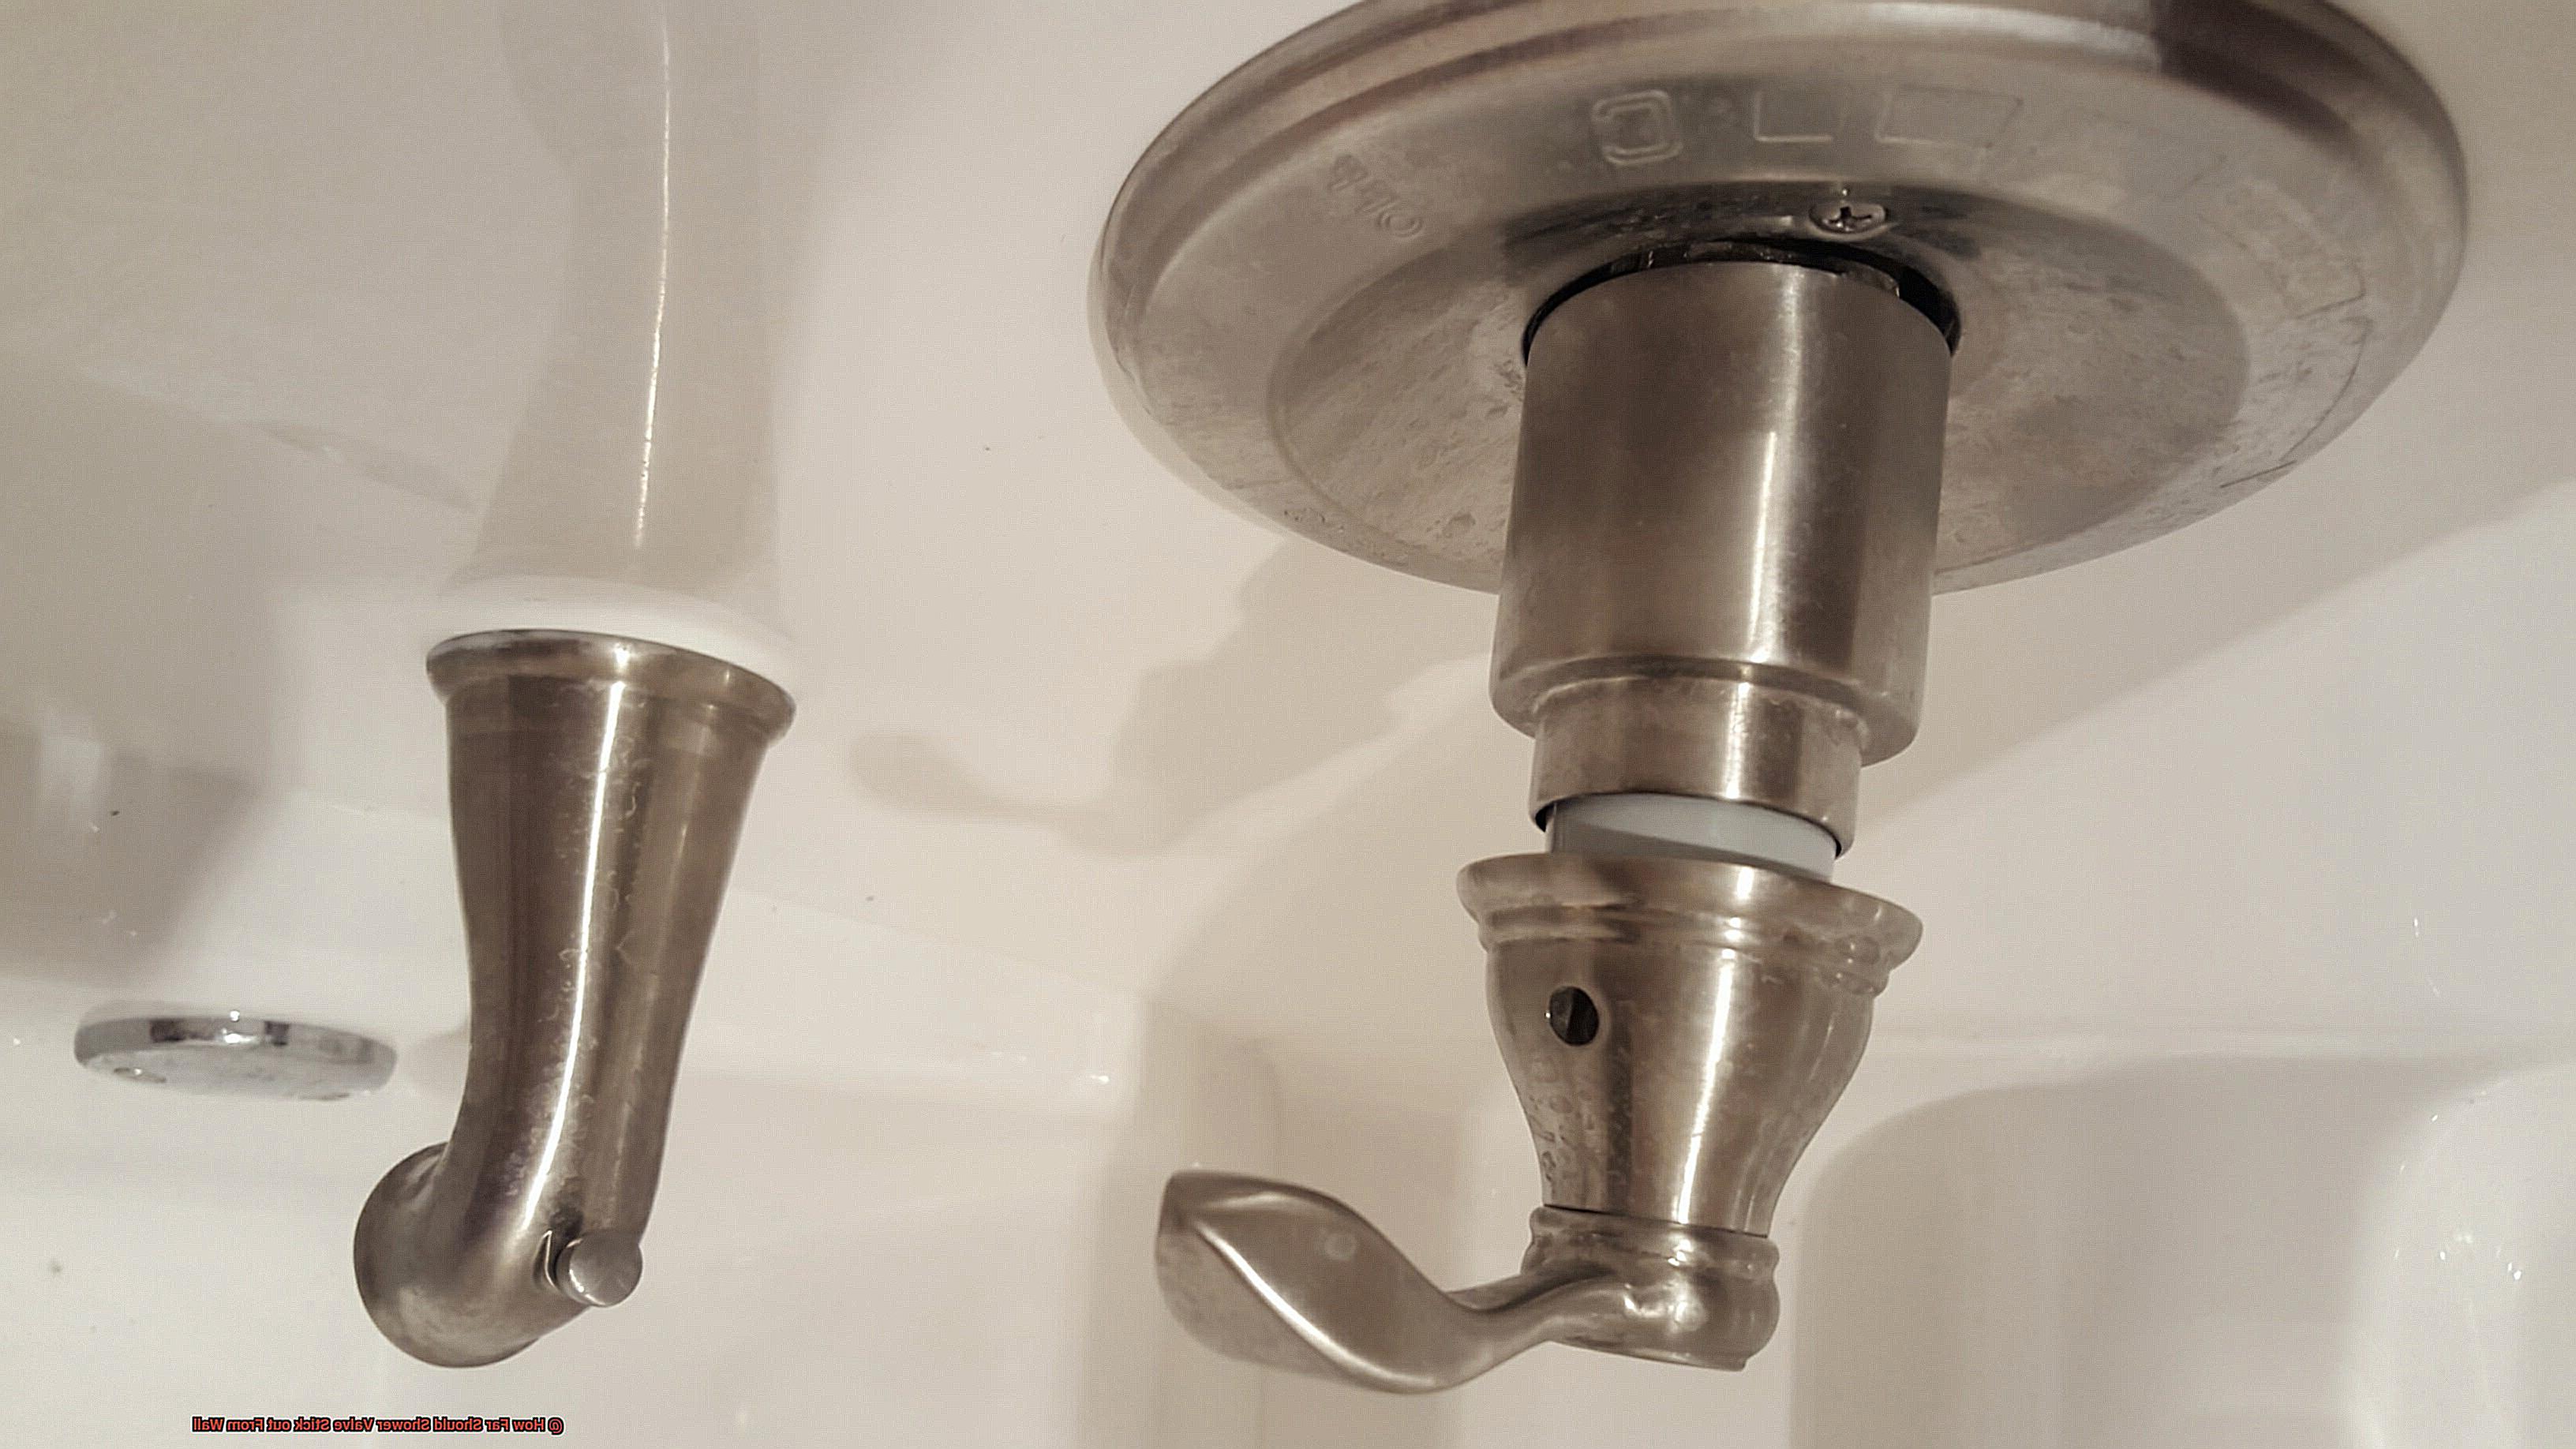
A pivotal factor to consider is the distance at which the shower valve should protrude from the wall. This distance should be between 2-3 inches, but this may vary depending on the type of valve, wall thickness, and finish used.
The critical aspect is that the valve handle remains easily accessible to turn on and off without any difficulty. If you plan on using a plaster guard during installation, it’s vital to factor in its thickness.
A plaster guard is a small metal plate that prevents excess water from seeping into the wall cavity by fitting between the valve and the finished wall surface. It will add an extra 1/4 inch to the overall distance of the valve from the wall.
This means that if you desire a standard distance of 2-3 inches, then the valve should protrude from the wall by 2 1/4 to 3 1/4 inches. Another essential factor to consider when installing a shower valve is its depth within the wall.
Typically, shower valves are set at a depth of around 2 1/2 to 3 inches behind the finished wall surface. This ensures that there is enough space for any necessary plumbing connections while still allowing enough room for the valve handle to function properly.
To measure the depth of your shower valve before installation, you can use a depth gauge. This tool helps you determine how far into the wall cavity the valve will sit once installed.
If your shower valve ends up being too deep within the wall, it may require an extension kit to bring it closer to the finished surface. It’s also important to know that there is no specific distance requirement between a showerhead and a shower valve.
However, it’s best to keep them as close together as possible to ensure optimal water pressure and temperature control. In conclusion, by considering all these factors, and measuring accurately, you can be sure that your shower valve is correctly installed and functions efficiently for years to come.
If you need assistance with installation or have any questions, don’t hesitate to consult with a specialist.
Ideal Depth for a Shower Valve
When it comes to installing a shower valve, it’s the little details that make all the difference.
One such detail is determining the ideal depth for the valve to be installed. This may seem like a small detail, but it is crucial to ensure that your shower valve functions correctly and is easily accessible.
According to experts, the ideal depth for a shower valve installation is between 2 1/2 to 3 inches from the finished wall surface. This depth ensures that the valve handle is easy to reach and provides enough clearance for any necessary repairs or maintenance.
However, if the valve is installed too deep in the wall, it can be challenging to operate, especially for children or individuals with mobility issues. Conversely, if it’s too shallow, it may not fit well into the plumbing system and could cause leaks or other issues.
To accurately measure the depth of your shower valve installation, you’ll need a tape measure and a level. Start by locating the center of where you intend to install your shower valve and marking it with a pencil.
Use your level to ensure that your mark is level with the surrounding area. Finally, measure the distance from your mark to the finished wall surface using your tape measure.
This measurement will give you an accurate idea of how deep your shower valve needs to be installed. It’s also important to note that following manufacturer guidelines and local building codes is critical when determining the ideal depth for a shower valve installation.
What to Do if Your Shower Valve Is Too Deep in the Wall
If you’ve ever experienced the frustration of a shower valve that’s too deep in the wall, you know firsthand how uncomfortable and inconvenient it can be. Fortunately, there are several solutions to this problem that can help you get your shower back to its functioning best. Here, we’ll explore five sub-sections to answer the question, “What to Do if Your Shower Valve Is Too Deep in the Wall?”
The Importance of Proper Shower Valve Installation:
When it comes to installing a shower valve, both functionality and safety are critical. Installing the valve at the correct height is essential, as a valve that is too deep in the wall can make it challenging to turn the handle and adjust the water temperature.
Additionally, if the valve is not attached or sealed properly, it could result in leaks and costly water damage. To ensure that your shower valve is correctly installed and at the appropriate depth, consult with a specialist or follow manufacturer instructions.
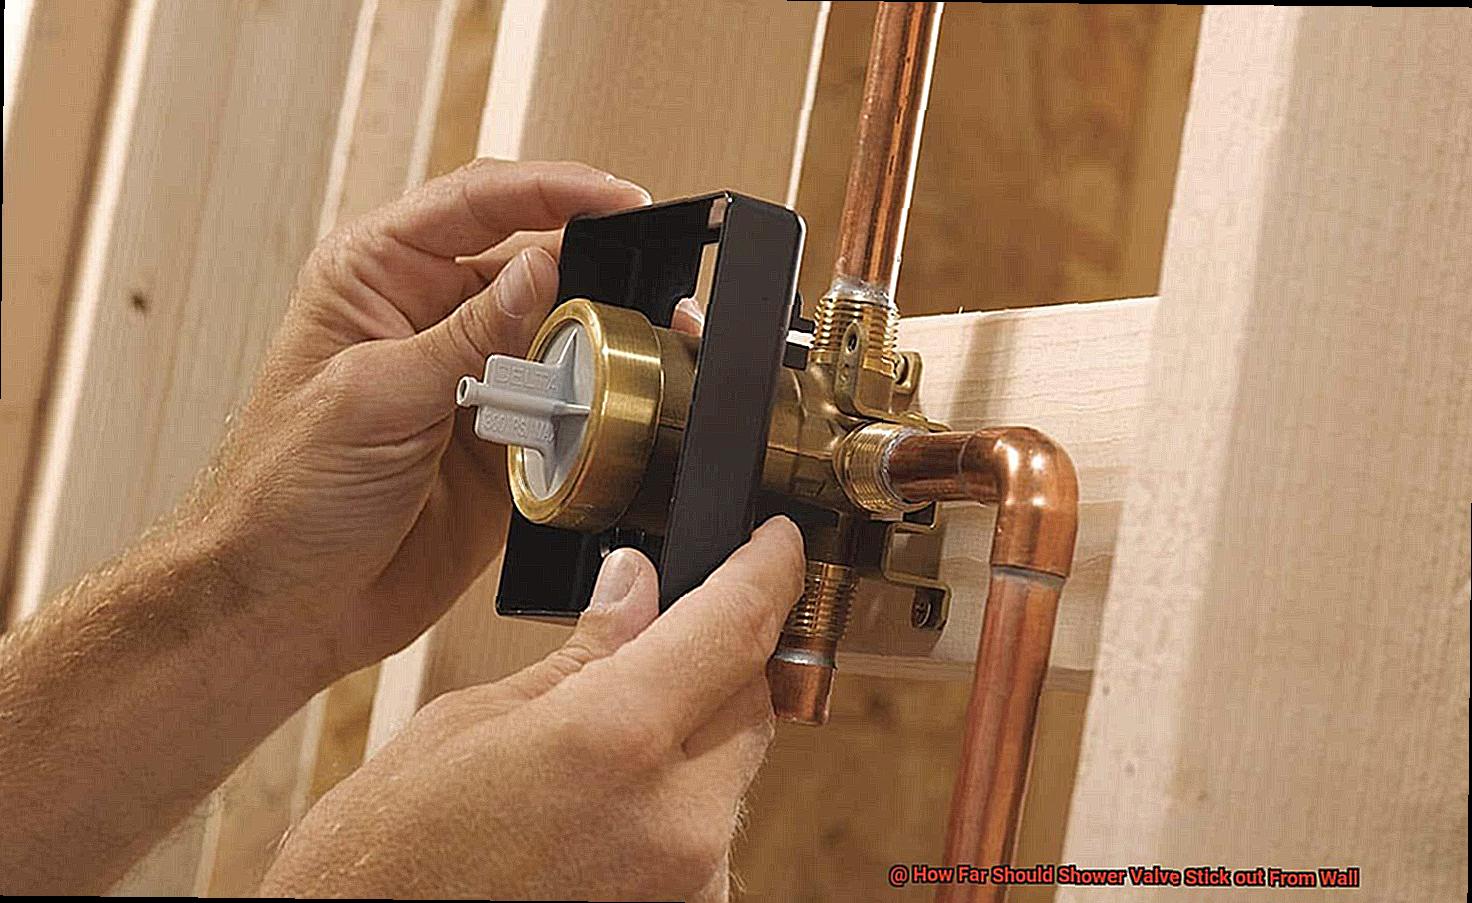
Using a Shower Valve Extension Kit:
If your shower valve is too deep in the wall, a shower valve extension kit can help extend its length so that it protrudes further from the wall. These kits are straightforward to assemble and come with all necessary parts, including an extension sleeve, decorative cover plate, and screws. By using an extension kit, you can guarantee that your shower valve is operating at the right height for optimal functionality.
Removing the Plaster Guard:
The plaster guard is a metal plate that sits under the shower valve and protects the wall from water damage. However, it may also contribute to the valve being too deep in the wall. Removing the plaster guard will allow you to ensure that the valve is correctly attached and sealed while still being securely fastened.
Measuring Your Shower Valve Depth:
To determine whether your shower valve is too deep in the wall or not, you’ll need to measure its depth accurately.
This can be done by removing any escutcheon plates or plaster guards and measuring from the backside of the finished wall surface to the center of the valve stem. This measurement will show how deep your valve is in the wall and whether or not adjustments need to be made.
Functionality and Aesthetics Considered:
When designing your shower valve placement, consider both functionality and appearance. The valve should be placed at a height that’s easy to access and use while still being comfortable for users.
Additionally, think about how well your chosen fixtures will match with nearby tiles or other bathroom elements. By taking these factors into account, you can ensure that your shower valve is installed correctly and functions optimally while looking great in your bathroom.
Where Should You Set Your Shower Valve?
The valve’s position can make or break your shower experience, so it’s crucial to get it right. So, where exactly should you set your shower valve?
Firstly, let’s talk about height. While the standard height for a finished floor is 48 inches, it’s essential to consider the user’s height and preference when placing the valve.
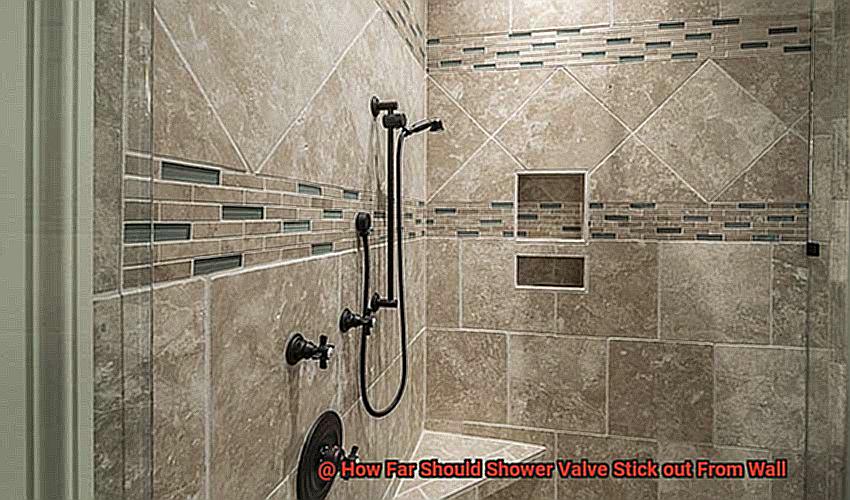
For safe access, the handle should be comfortably reachable between 36 and 48 inches off the ground. But that’s not all – there’s also the distance between the showerhead and the valve to consider.
Nobody wants to be scalded by hot water. To prevent any mishaps, installing your valve at least 6 inches away from the showerhead is recommended.
And then there’s installation depth. It may not be something you’ve thought about, but getting this right is crucial for both function and appearance.
You don’t want the valve sticking out too much from the wall, but you also don’t want it to be too deep that it becomes difficult to use. On average, your valve should be installed about 1 ½ to 2 ½ inches behind the finished wall surface.
However, if you’re using additional components like an extension kit, make sure to factor those in when determining the depth of your valve. If you’re unsure about how deep to install your valve, don’t worry – you can easily measure it with a depth gauge.
This simple tool measures the distance between two points and can be found at any hardware store. In summary, when setting your shower valve, consider its height, distance from the showerhead, and installation depth.
How Far Can the Shower Valve Be from the Showerhead?
After a long day, there’s nothing like a refreshing shower to wash away the stress.
But what if you step into the tub and find that the showerhead is too far away from the valve? You can’t rinse off the shampoo or soap properly, and the water pressure just isn’t strong enough.
To avoid this frustrating scenario, it’s essential to know how far apart your shower valve and showerhead should be. While there are no strict rules or codes, most experts recommend a distance of no more than eight inches between the two.
This distance ensures that there is adequate water pressure for effective rinsing and that the showering experience is comfortable. The type of valve you’re using can also impact the distance between the valve and showerhead.
For instance, a thermostatic valve requires more space than a pressure-balancing valve, so take this into account when measuring. In addition, your height can also be a factor in determining the ideal distance for maximum convenience.
To measure the distance between the valve and showerhead accurately, use a measuring tape to measure from the center of the valve to the center of the showerhead. This will give you an exact measurement of how far apart they are.
If you’re not sure about how far apart your shower valve and showerhead should be, don’t hesitate to consult with a professional plumber. They can suggest the best practices for your specific situation.
Keep these tips in mind for accurate measurement and contact a licensed plumber if you need further assistance.
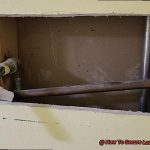
Measuring the Depth of a Shower Valve
Measuring the depth of a shower valve is an essential step to ensure a safe and enjoyable shower experience. To begin, locate the opening on the wall where the valve will be installed.
Use a flashlight to peek inside and find the back of the finished wall, which is where you want the valve to be mounted. Next, measure from the back of the finished wall to the front of the valve opening using a tape measure or ruler.
This measurement will indicate how deep you need to drill the valve. Keep in mind that some valves come with plaster guards, which add to the overall depth.
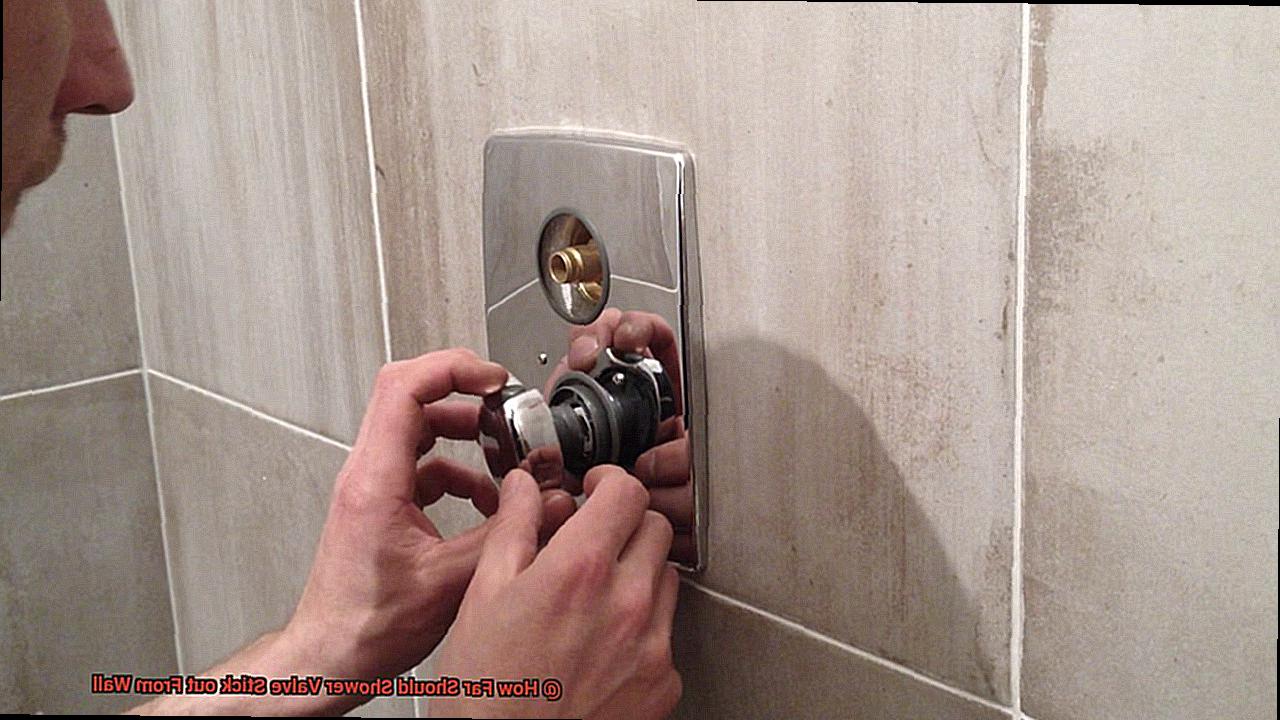
If your valve has a plaster guard, be sure to account for its depth when measuring. Measure from the back of the finished wall to the front of the plaster guard and add this measurement to your previous measurement for a more accurate depth reading.
It’s important to note that each manufacturer may have different recommendations for how deep their valves should be installed. Be sure to check with your specific manufacturer’s instructions before installing your shower valve.
Measuring the depth of a shower valve may seem like a small detail, but it could make a big difference in proper installation and optimal water pressure. Take your time, follow these tips, and enjoy your new shower experience with confidence.
H1PPUKZEfi0″ >
Conclusion
In summary, the placement and depth of your shower valve are crucial factors to consider when installing or replacing it.
The sweet spot for a shower valve to protrude from the wall is typically between 2-3 inches, but this can vary depending on several factors such as wall thickness, finish, and valve type. It’s essential to ensure that the valve handle is easy to turn on and off without any hassle.
When it comes to depth, you want the finished wall surface to be at a distance of around 2 1/2 to 3 inches from the shower valve installation. This ensures that the handle is within reach and leaves enough room for any necessary repairs or maintenance.
Luckily, there are numerous options available if you need to adjust your shower valve’s location or depth. For example, you could install a shower valve extension kit or remove the plaster guard.
Additionally, it’s always worth consulting with an expert for guidance tailored to your specific situation. Keep in mind other important considerations such as the height of the shower valve and its distance from the showerhead when selecting your ideal installation location.
By following these guidelines and seeking professional advice as needed, you can guarantee a safe and enjoyable shower experience while also avoiding costly water damage.